Friday, February 11, 2022

Prevent or Prohibit Server Drives From Being Visible to Users

 To make changes to this policy for one of the seven default values:

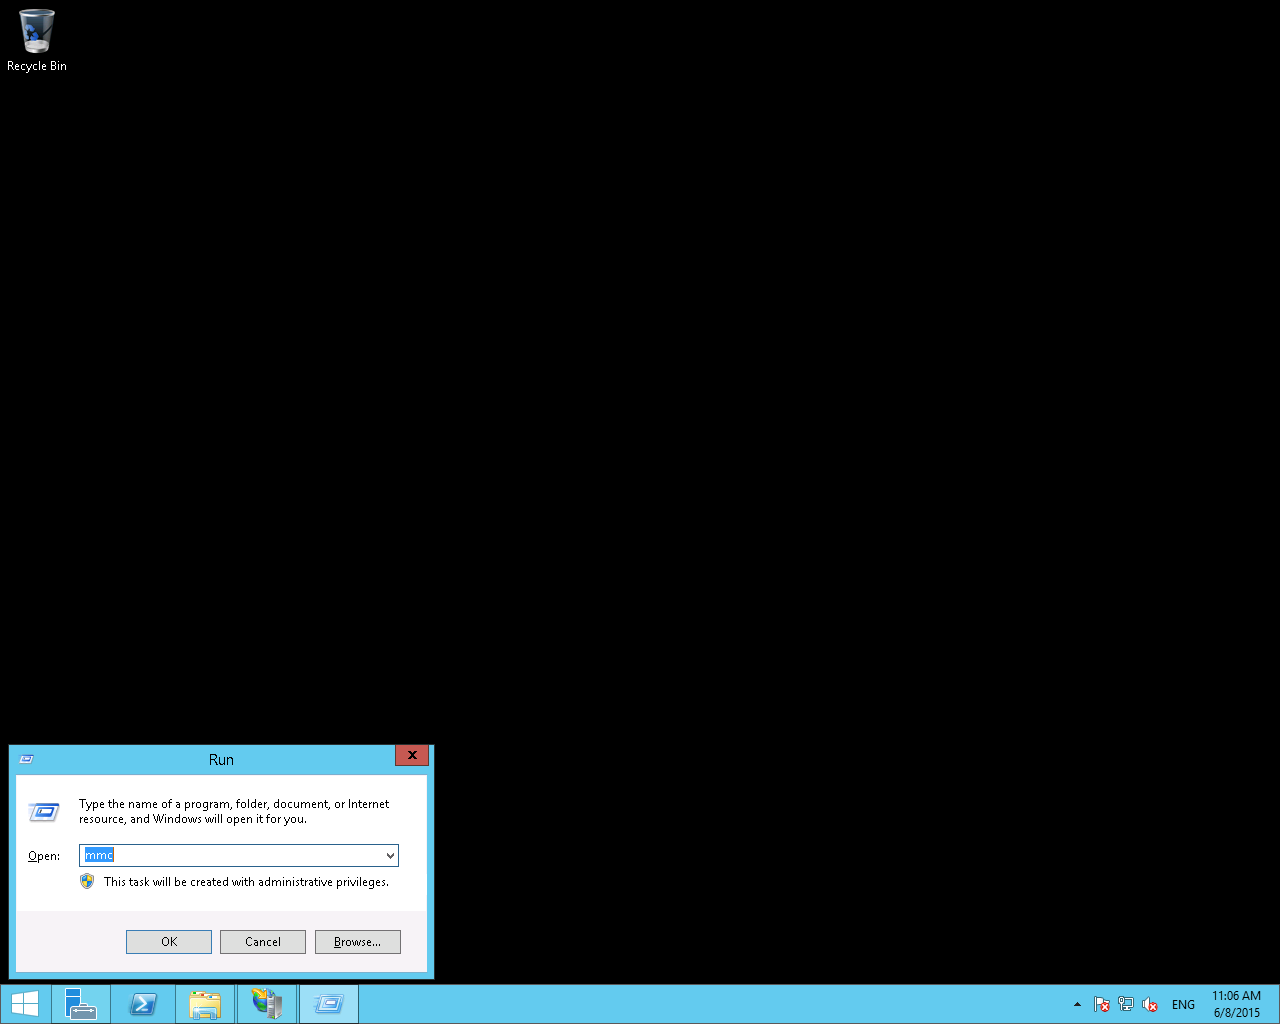
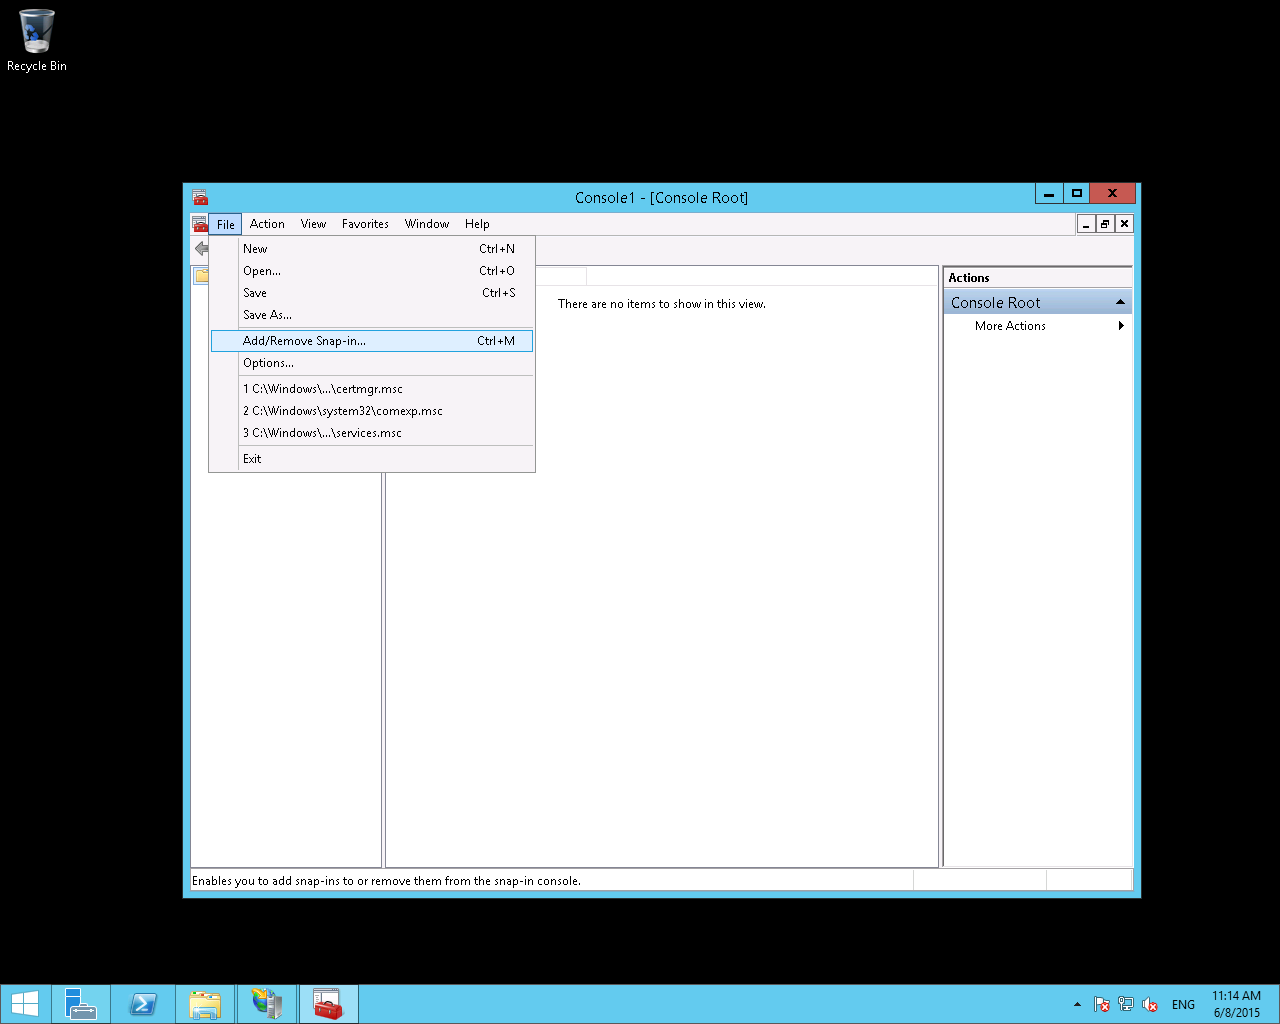
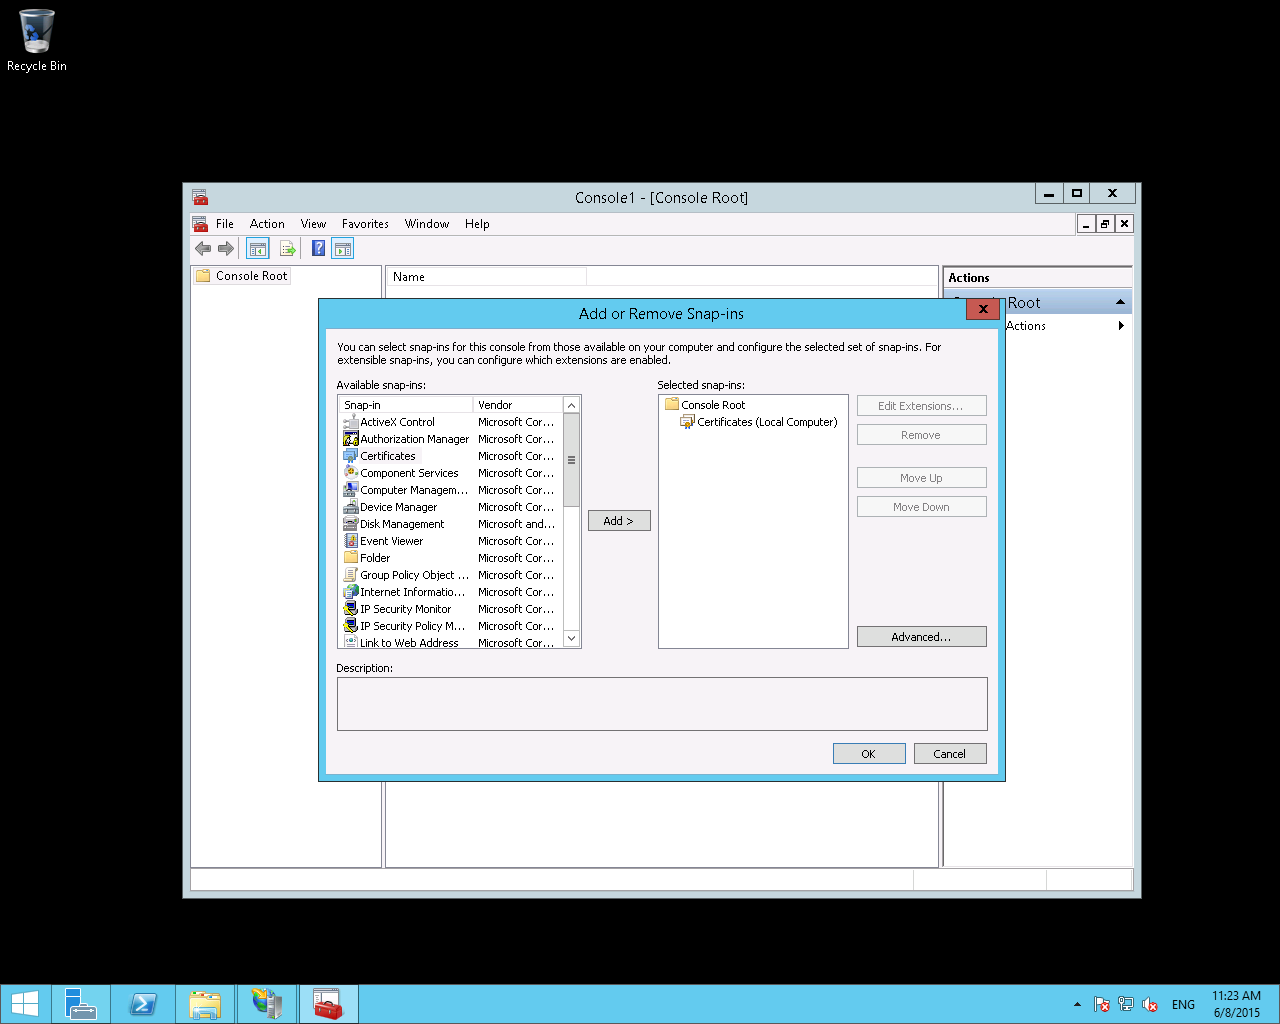
  1. Start the Microsoft Management Console. On the Console menu, click Add/Remove Snap-in.
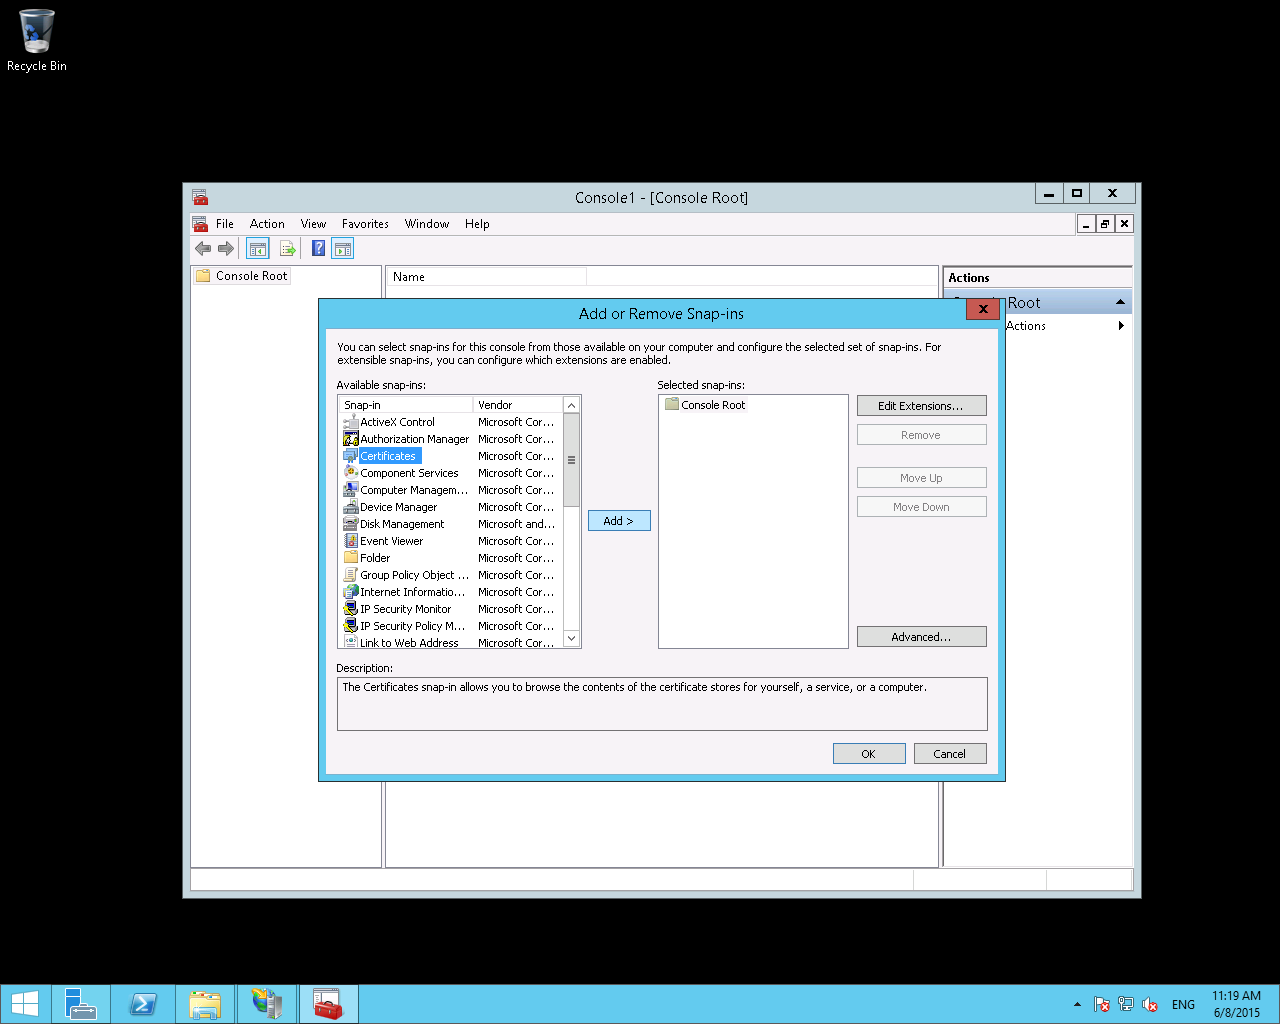
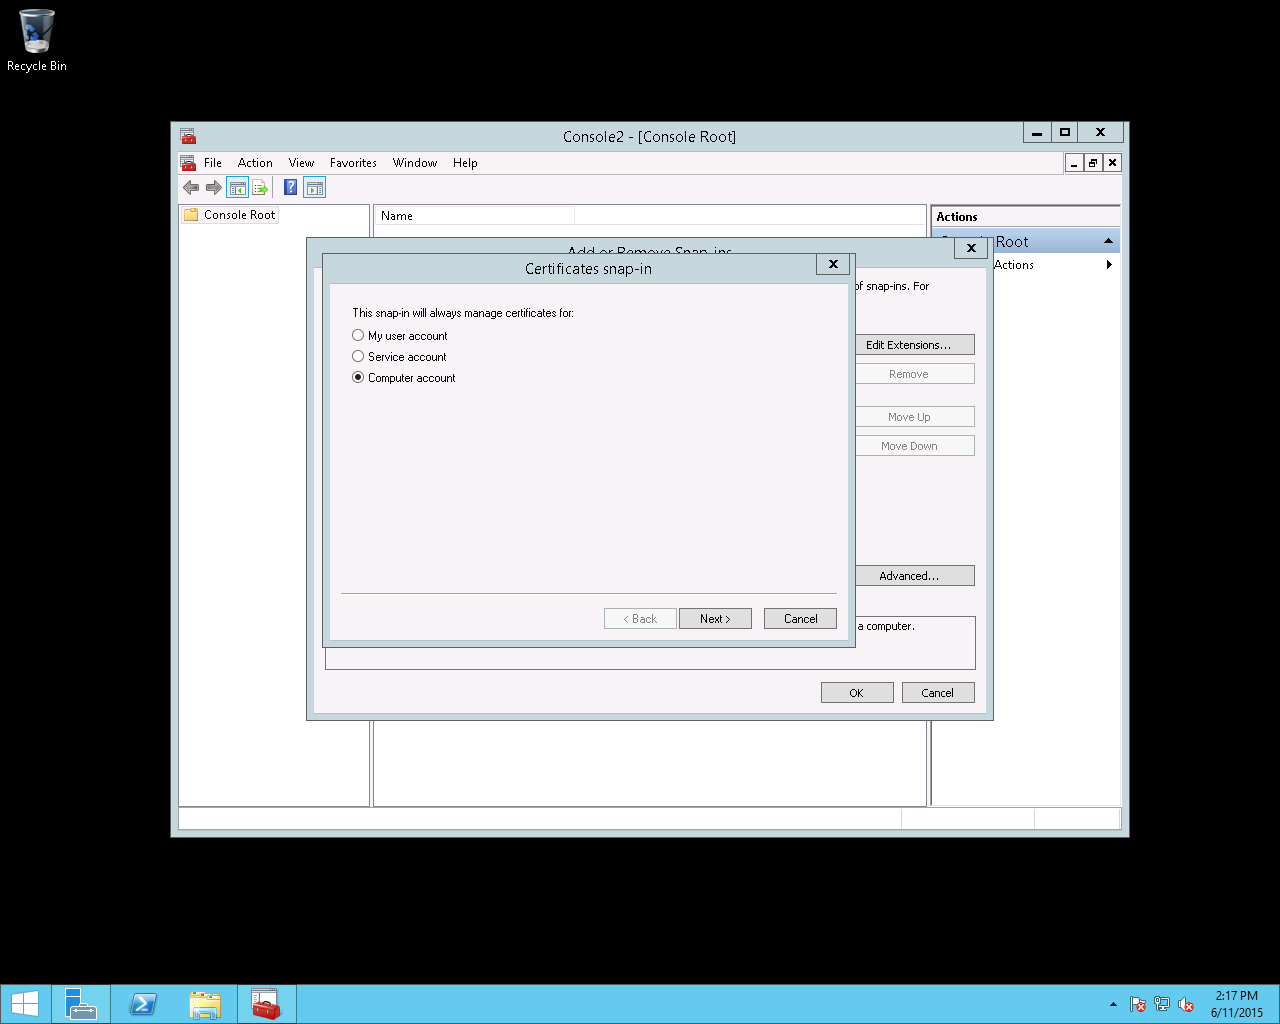
  2. Add the Group Policy snap-in for the default domain policy. To do this, click Browse when you are prompted to select a Group Policy Object (GPO). The default GPO is Local Computer. You can also add GPOs for other domain partitions (specifically, Organizational Units).
  3. Open the following sections: User Configuration, Administrative Templates, Windows Components, and Windows Explorer.
  4. Click Hide these specified drives in My Computer.
  5. Click to select the Hide these specified drives in My Computer check box.
  6. Click the appropriate option in the drop-down box.

These settings remove the icons representing the selected hard disks from My Computer, Windows Explorer, and My Network Places. Also, these drives do not appear in the Open dialog box of any programs. 

Thursday, January 28, 2021

Tuesday, November 27, 2018

Install a SSL certificate from pfx format and enable http redirect to https in IIS 8.5

Part I - Import Certificates
  • Open the Windows launch tool with Run from the Run menu or with the keyboard shortcut Win+r. Then enter mmc and click OK.

  • Click on the File menu and then on Add/Remove Snap-in.

  • Click on Certificates then on Add.

  • Select your kind of current account (Windows) the complete the information requested.

  • Then validate by clicking OK.

  • You can now open the Certificates menu to find the store that will contain your certificate. Select its sub-file Certificates. Then right click in the center part of the window and select the All tasks - Import option. 

  • Click on Next.

  • Select your pfx file. Please note that the dialog box tries to find another kind of file by default. Then click on Next

  • Enter the password protecting the certificate. Make sure the box Mark this key as exportable is checked. If not, you won't be able to export your key.

  • Select the store that will contain the certificate. It is very strongly recommended to select the Automatically select the certificate store based on the type of certificate option in order to distribute each element of the certification chain in the adequat stores.

  • Confirm the certificate import by clicking on Finish 

Part II - Bind Certificates
  • In Internet Information Services (IIS) Manager, select your site.

  • Select Bindings option from the Actions menu on the right hand side of the window.

  • Then select Add

  • Then select the HTTPS protocol and the certificate you previously added.


Part III - HTTP to HTTPS redirects


Friday, October 5, 2018

Exchange Server 2013 Unable to access OWA or ECP. - "Something went wrong" or "500 unexpected error"

  • Open the ADSI editor on the primary domain controller
  • Go to CN=Configuration --> CN=Services --> CN=Microsoft Exchange --> CN=
  •  Right click CN=Client Access and click properties
  • Find the msExchCanaryData0, msExchCanaryData1, msExchCanaryData2 and so on.
  • Delete the content of above properties
  • Now log onto the CAS server and open IIS management.  Go to application pools and  right click MSExchangeOWAAppPool and click Recycling
  •  Reboot the mail servers


Wednesday, September 26, 2018

Enable and Configure http to https redirection for Apache on CentOS 7


Method 1
  • Create .htaccess file under the root of the web folder
         RewriteEngine On RewriteCond %{SERVER_PORT} 80 RewriteCond %{HTTP_HOST} ^(www\.)?coolexample\.com RewriteRule ^(.*)$ https://www.coolexample.com/$1 [R,L]

where www.coolexample.com should change to the url of the website

  • Check the line LoadModule rewrite_module modules/mod_rewrite.so in /etc/httpd/conf.modules.d/00-base.conf is not comment or missing. If it is commented or missed, the mod_rewrite of Apache is not enabled. 

  • Edit the /etc/httpd/conf/httpd.conf to allow override
          <Directory /var/www/html>
     AllowOverride All
</Directory>


  • Restart the Apache to put the change into effect 
Method 2

  • vi /etc/httpd/conf.d/ssl.conf
  • Add following
      <VirtualHost *:80>
                ServerAdmin webmaster@your domain name
                DocumentRoot /var/www/html/your folder root
                ServerName your server name
                RewriteEngine on
               RewriteRule ^(.*) https://your domain name$1 [R=301,L]
     </VirtualHost>

Monday, September 24, 2018

Install VMware Tools on Centos 6 with yum

Introduction
Often when managing a large number of systems you want to manage all software installs the same way. So when it comes to VMware Tools you may not want to follow the official instructions but instead install using yum, especially if you’re automating a large number of headless systems.
VMware makes their tools available via a web hosted yum repository, however this means you must also update the tools using yum. You server will show the tools status in vCenter as “Running (3rd-party/Independant)” and you will not be able to specify the “Update on boot” option in your vm settings.
Add repository
First we must add VMware’s repository. Create a new repository file with your text editor (we’ll use vi for now)
vi /etc/yum.repos.d/vmware.repo
and add the following content
[vmware-tools] name=VMware Tools for Red Hat Enterprise Linux $releasever - $basearch baseurl=http://packages.vmware.com/tools/esx/latest/rhel6/$basearch enabled=1 gpgcheck=1 gpgkey=http://packages.vmware.com/tools/keys/VMWARE-PACKAGING-GPG-RSA-KEY.pub
Install Package
Once you’ve done this you can simply install the headless version of the tools (no X) with this simple command. You’ll need to accept the installation of the GPG key.
yum install vmware-tools-esx-nox

Updating VMware Tools

From now on if you need to update VMware Tools you can simply run
yum update vmware-tools-esx-nox
or as part of a regular yum update.
Removing VMware Tools
If you change your mind and want to remove VMware Tools or switch back to the tar and perl scripts method of installing VMware Tools simply run the following command to remove them.
yum remove vmware-tools-esx-nox

Saturday, September 22, 2018

Restore Windows Server 2012 R2 from Windows Backup Image


  • Before restore the Windows Server 2012 R2 from a Windows Server Backup, please confirm the destination disk size must be same as or greater than original once. 
  • Also the boot type (BIOS or UEFI) of the destination server must be same as the original, no matter the destination machine is a physical or virtual machine.
  • Boot the machine (either physical machine or virtual machine) from Windows Server 2012 R2 iso.
  • After Boot and start the Windows Server Setup Wizard click Next.
  • Click "Repair your Computer"
  • Select "Troubleshoot"
  • Select "Command Prompt"
  • Type "start /w wpeinit"
  • Type "netsh interface ip set ipaddress "Ethernet" static aaa.aaa.aaa.aaa bbb.bbb.bbb.bbb" (where aaa.aaa.aaa.aaa is IP address and bbb is subnet mask) 
  • Type "Exit"
  • Click again "Troubleshoot"
  • Click "System Image Recovery"
  • Click "Cancel" in Error that you get and click "Next"
  • Click "Advance"
  • Select "Search for a System Image in the Network"
  • You will get a Warning if you want to connect in the Network. Click Yes
  • Type the path of your Windows Backup and click OK.
  • Select the Location which include the Backup and click Next
  • Select BACKUP that you want to Restore and click Next
  • You can find additional options of Restore Points but because will proceed with full restore leave the default options and click Next.
  • Click "Finish" and the Restore will start.
  • Wait unti finish the Restore

Prevent or Prohibit Server Drives From Being Visible to Users

  To make changes to this policy for one of the seven default values: Start the Microsoft Management Console. On the Console menu, click  Ad...