Build a webserver with CentOS 7, MySQL, PHP7.2 and use a
existing wildcard SSL Certificate from Windows Server
A.
Build a CentOS Linux server
with minimum setup with developer options. After installed the CentOs, run yum -y
update to upate the server to most update version
B.
Install Apache
Install Apache by yum yum
install httpd
Start the httpd service systemctl
start httpd.service
Let the httpd
service start with the system systemctl enable httpd.service
C.
Configure the firewall
firewall-cmd --permanent --zone=public --add-service=http
firewall-cmd --permanent --zone=public
--add-service=https
firewall-cmd --reload
D.
Install MySQL
Install mysql by yum yum
install mariadb-server mariadb
Start the httpd service systemctl
start mariadb
Let the httpd
service start with the system systemctl enable mariadb.service
Configure the
MYSQL sudo
mysql_secure_installation
The new password for the “root” of
MySQL
|
E.
Install PHP7.2
yum
install https://dl.fedoraproject.org/pub/epel/epel-release-latest-7.noarch.rpm
yum install
http://rpms.remirepo.net/enterprise/remi-release-7.rpm
yum install yum-utils
yum-config-manager --enable
remi-php72
yum install php php-mcrypt
php-cli php-gd php-curl php-mysql php-ldap php-zip php-fileinfo
systemctl
restart httpd.service
F.
Install phpMyAdmin
yum -y install phpmyadmin
vi
/etc/httpd/conf.d/phpMyAdmin.conf to add
the ip or ip range to allow access the phpMyAdmin, following example is added
the subnet 192.168.3.0/24 and 192.168.168.0/24
G. Copy website to following directory in Linux cd /var/www/html by
using ftp (install ftp before use the ftp yum install -y ftp)
H. Import tables to MySQL by using phpMyAdmin
l Launch the phpMyAdmin
l Create the database as the program required, here is “cfweb”
l Click on the “Import” tab to begin import the tables
I. Run following command openssl version, if the openssl was installed, the output should like OpenSSL 1.0.2k-fips 26 Jan 2017
J.
Install mod_ssl
Before configure the SSL, run following command to install the SSL
module
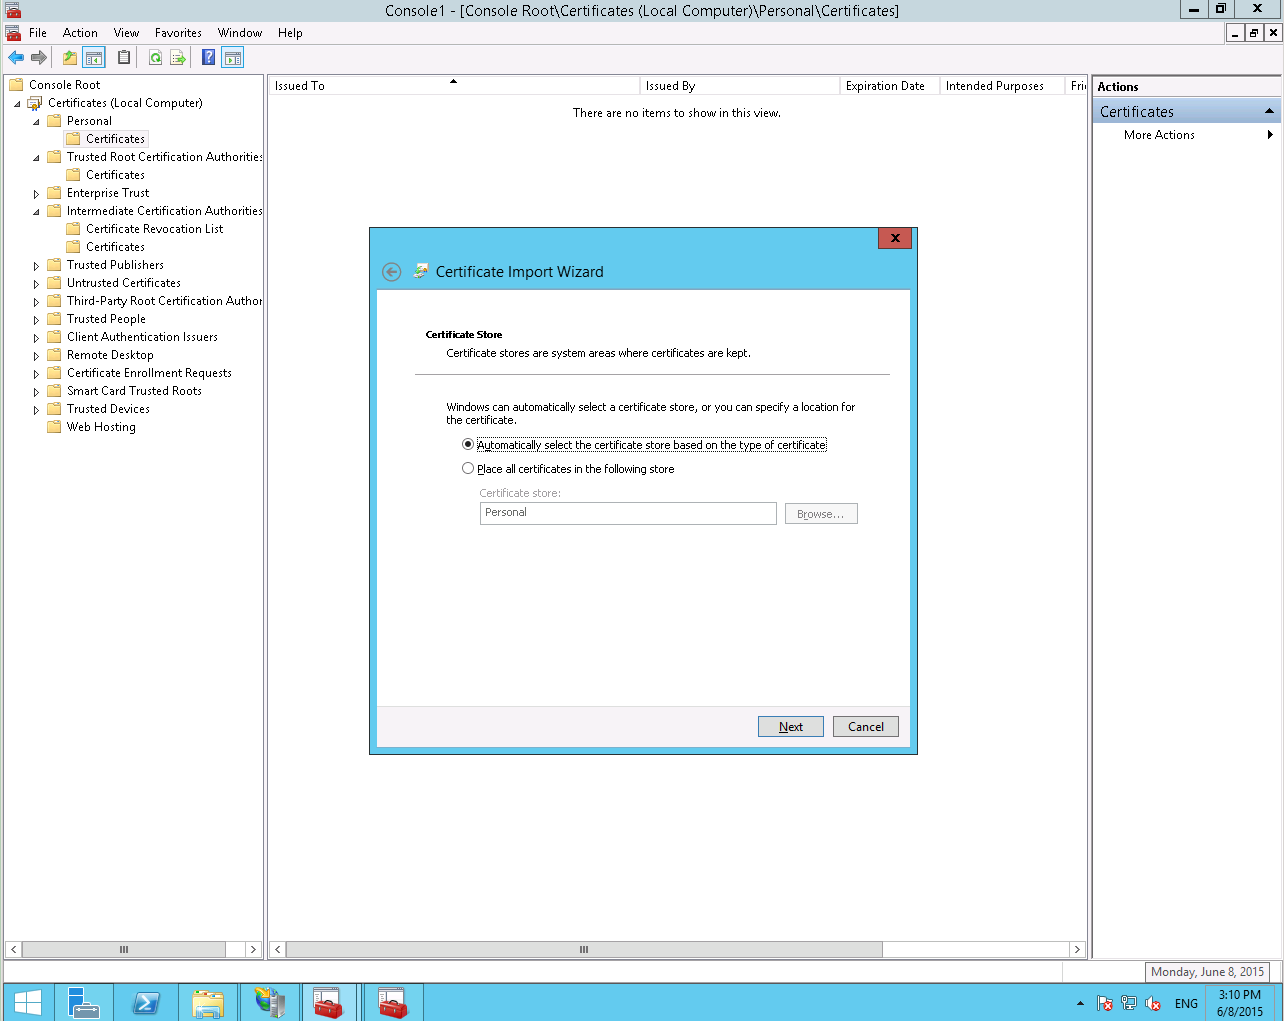
K.
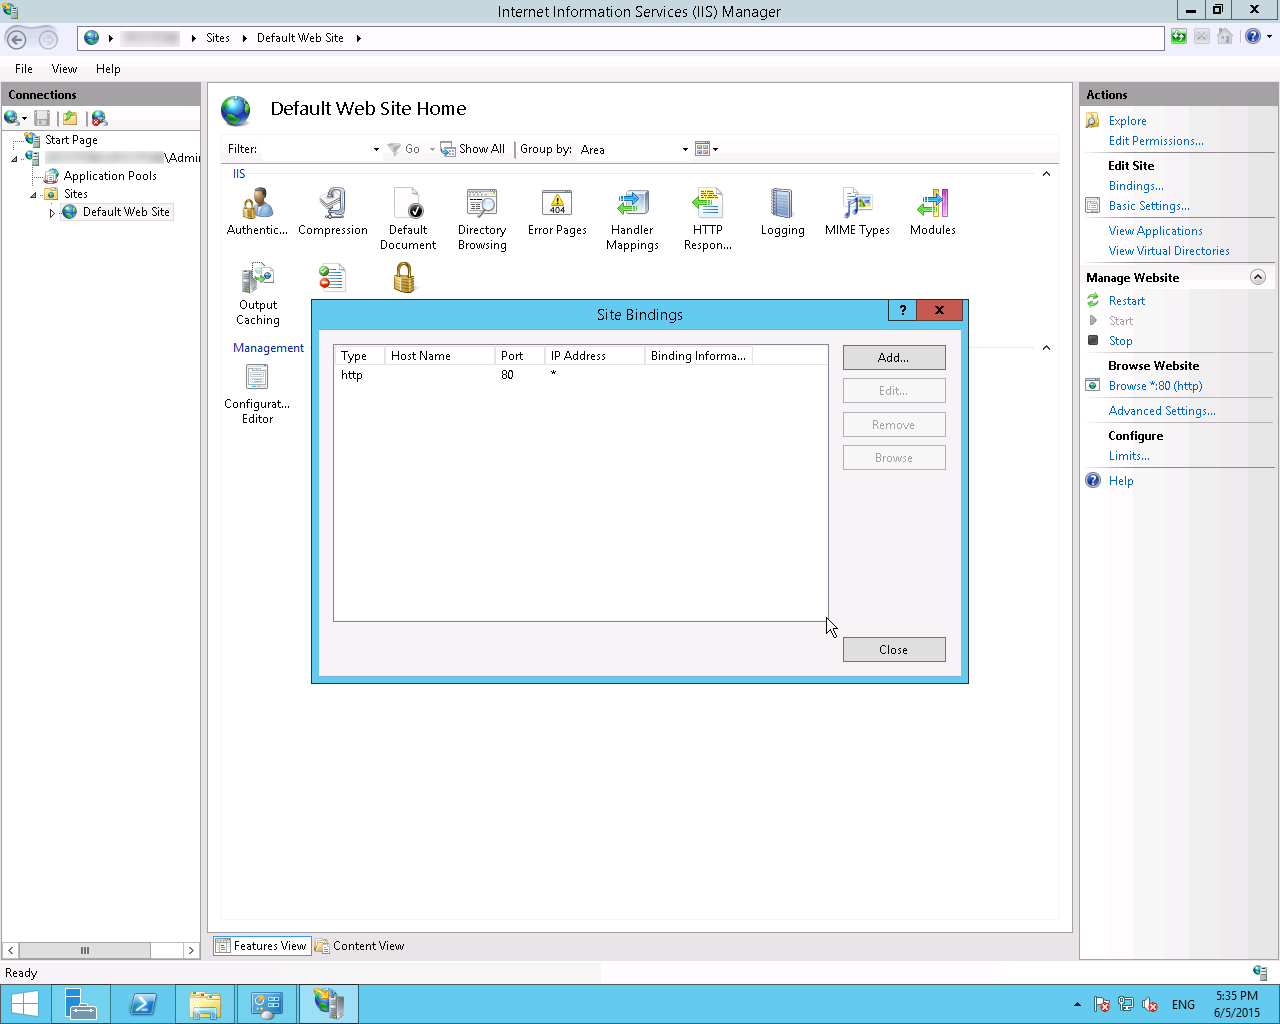
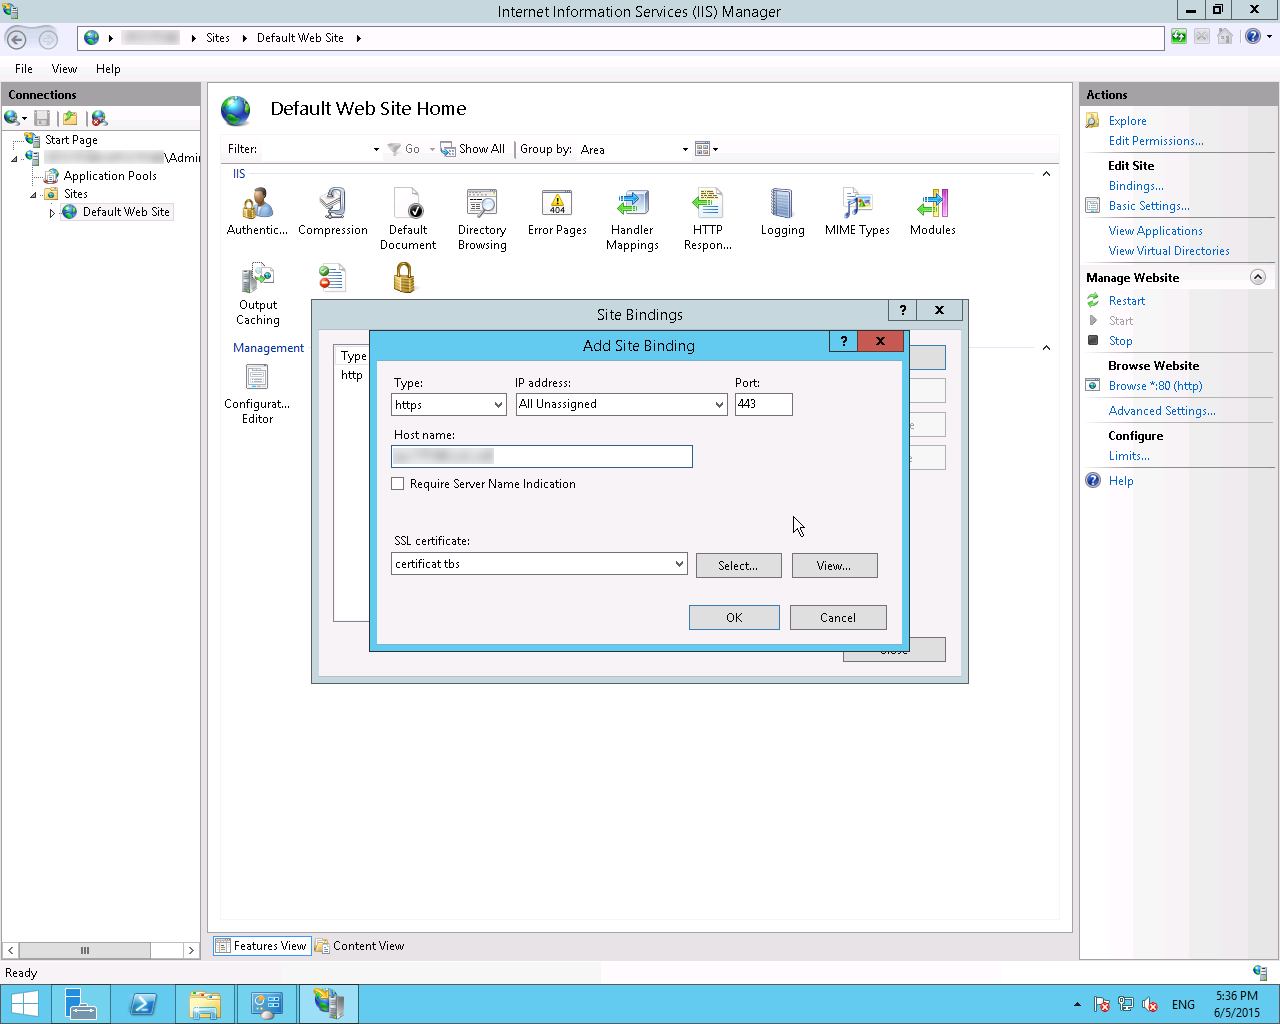
Export the PFX file from Windows
Server
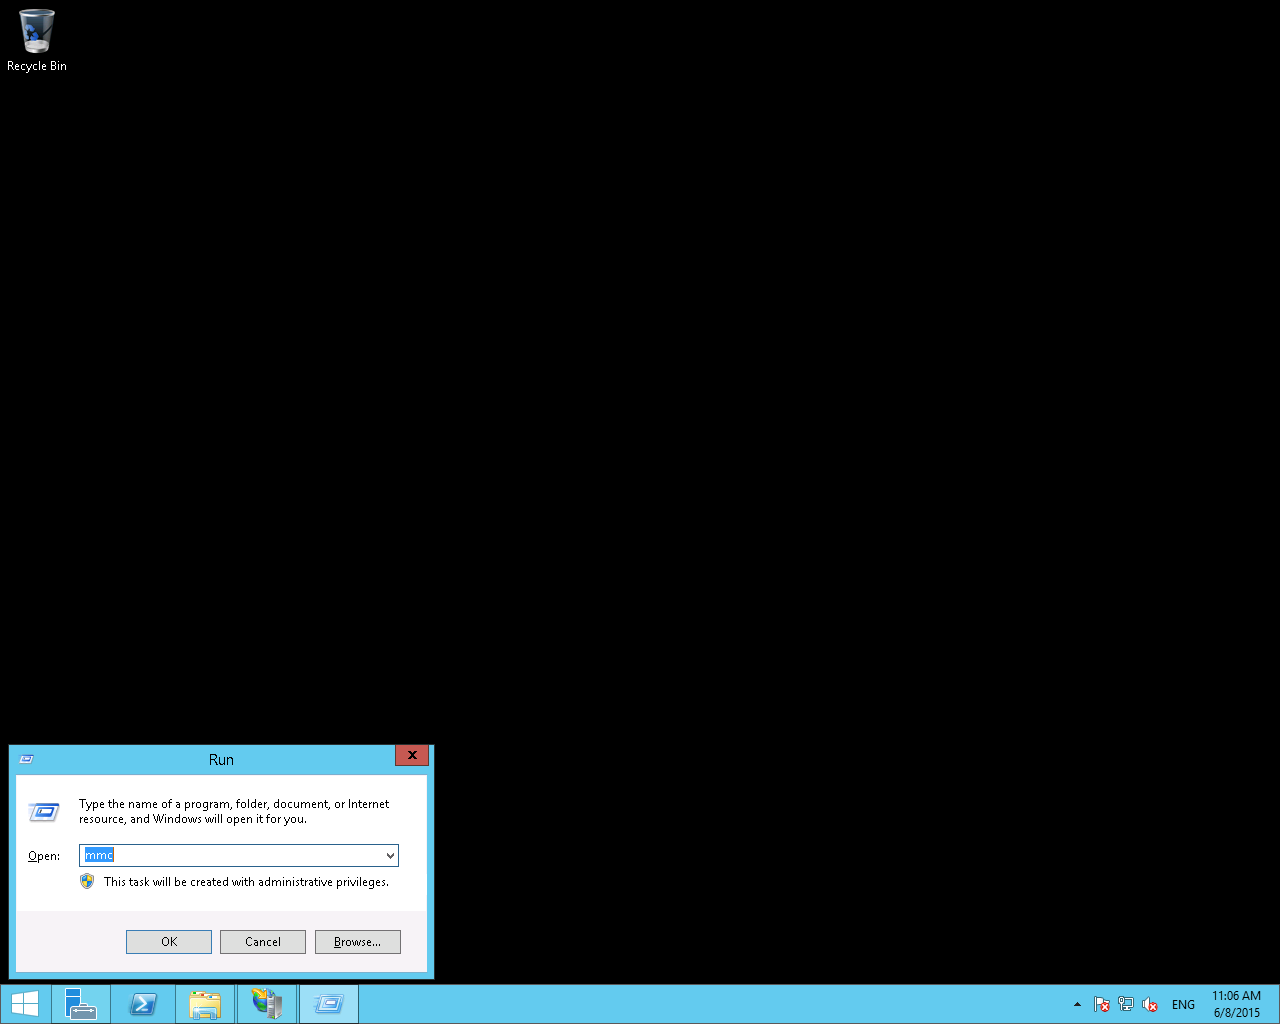
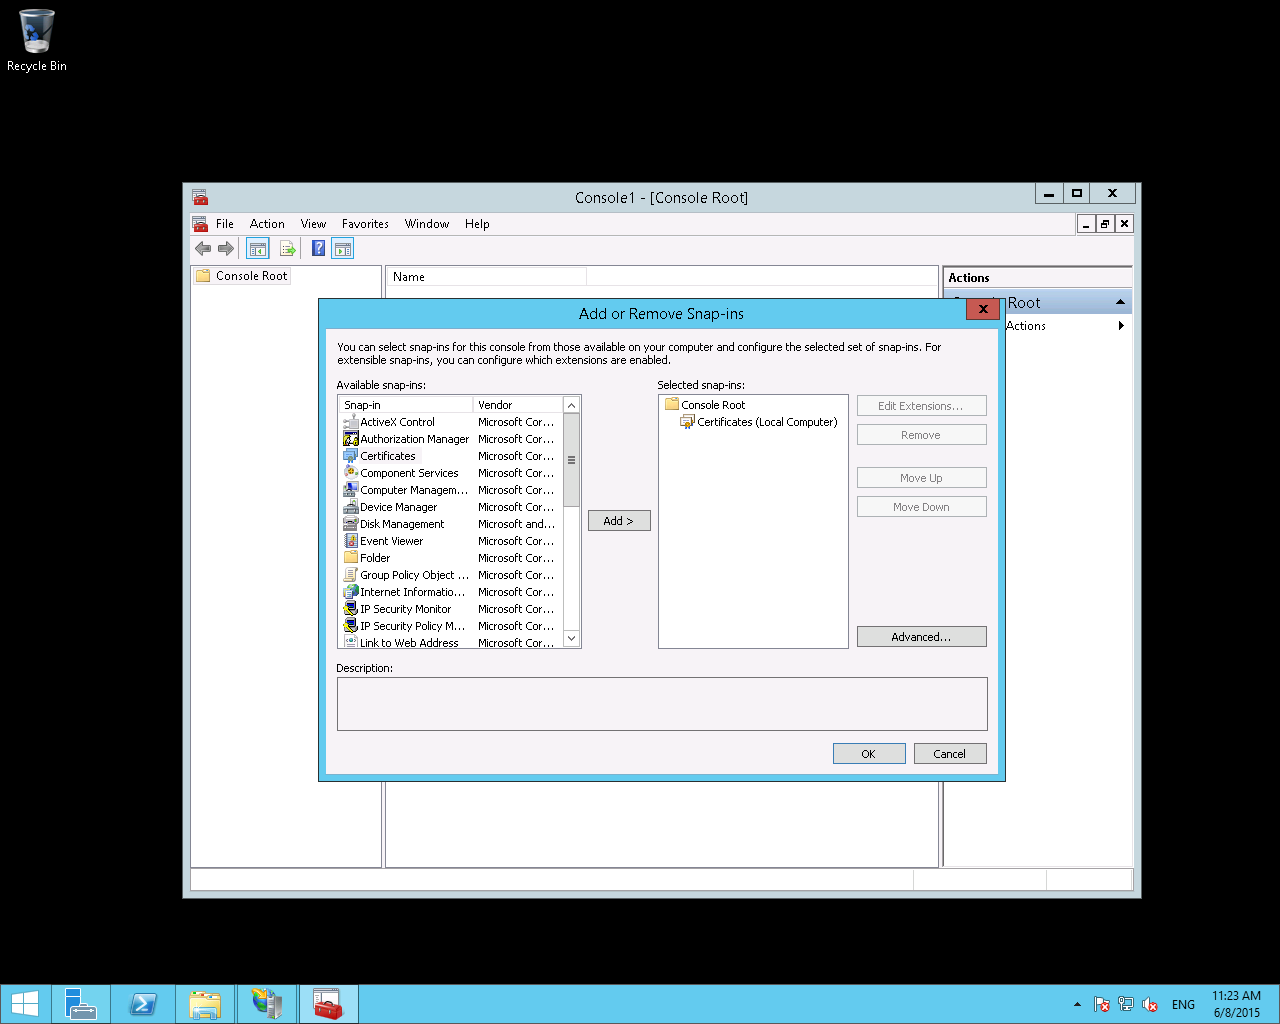
l Click
Start, Run, then type “mmc” and hit enter.
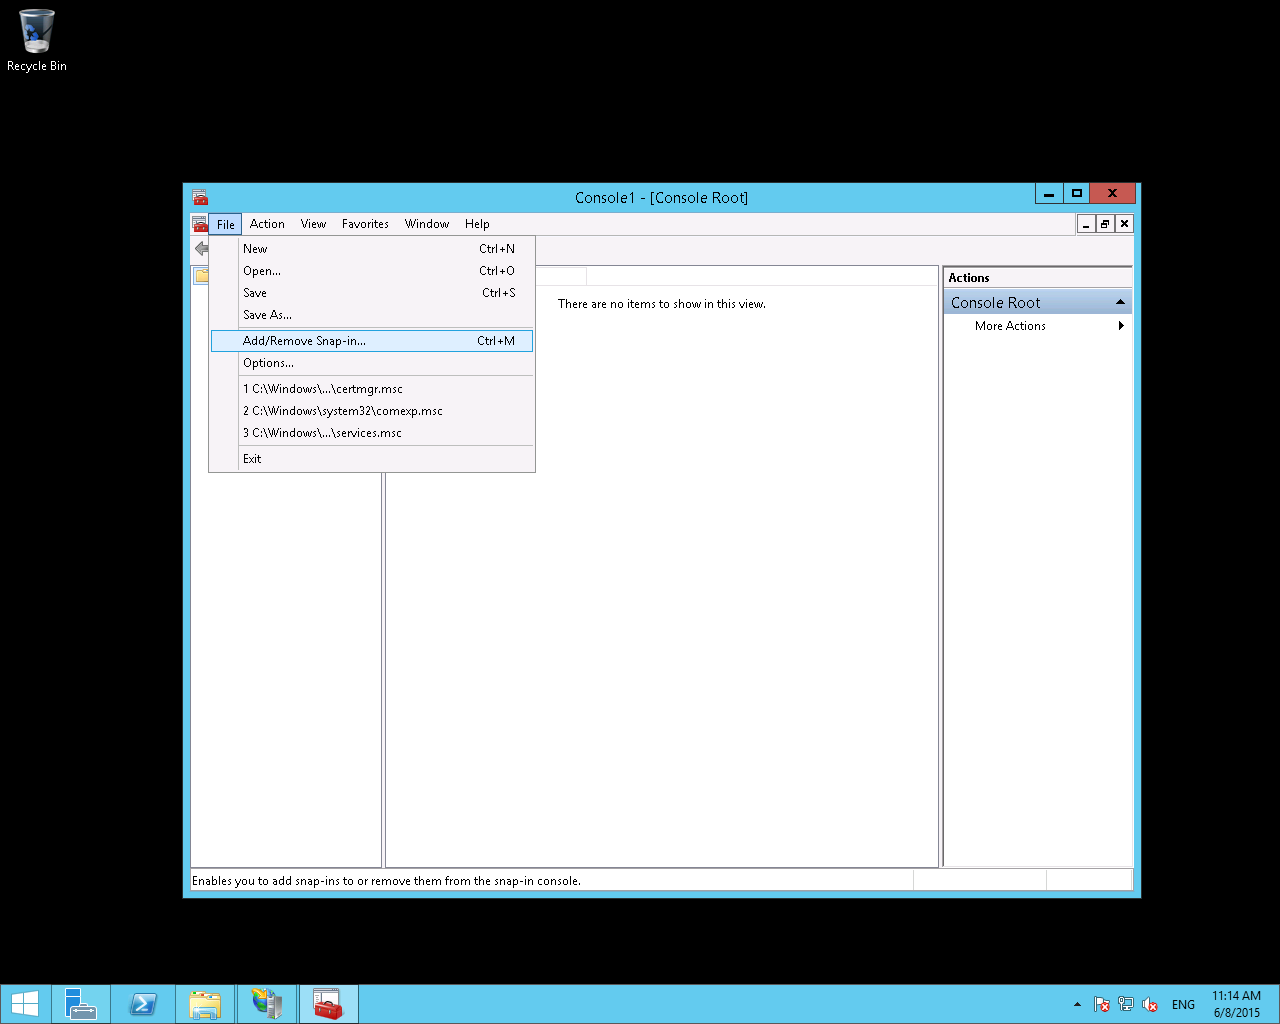
l In
the leftmost menu, choose “Add/Remove Snap In” under “File”.
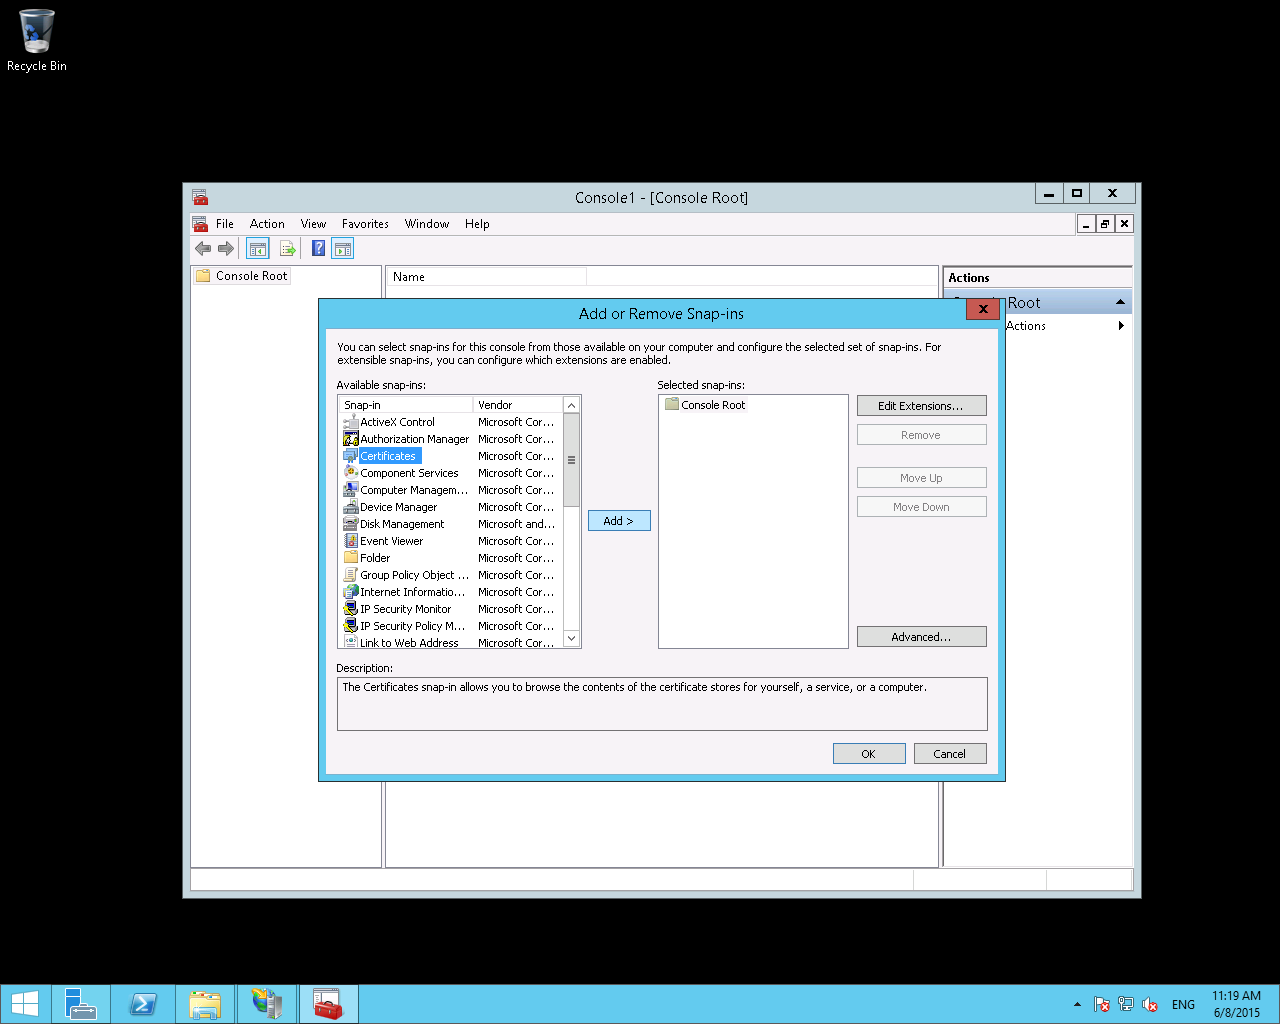
l Click
“Certificates”, then click “Add”, then OK.
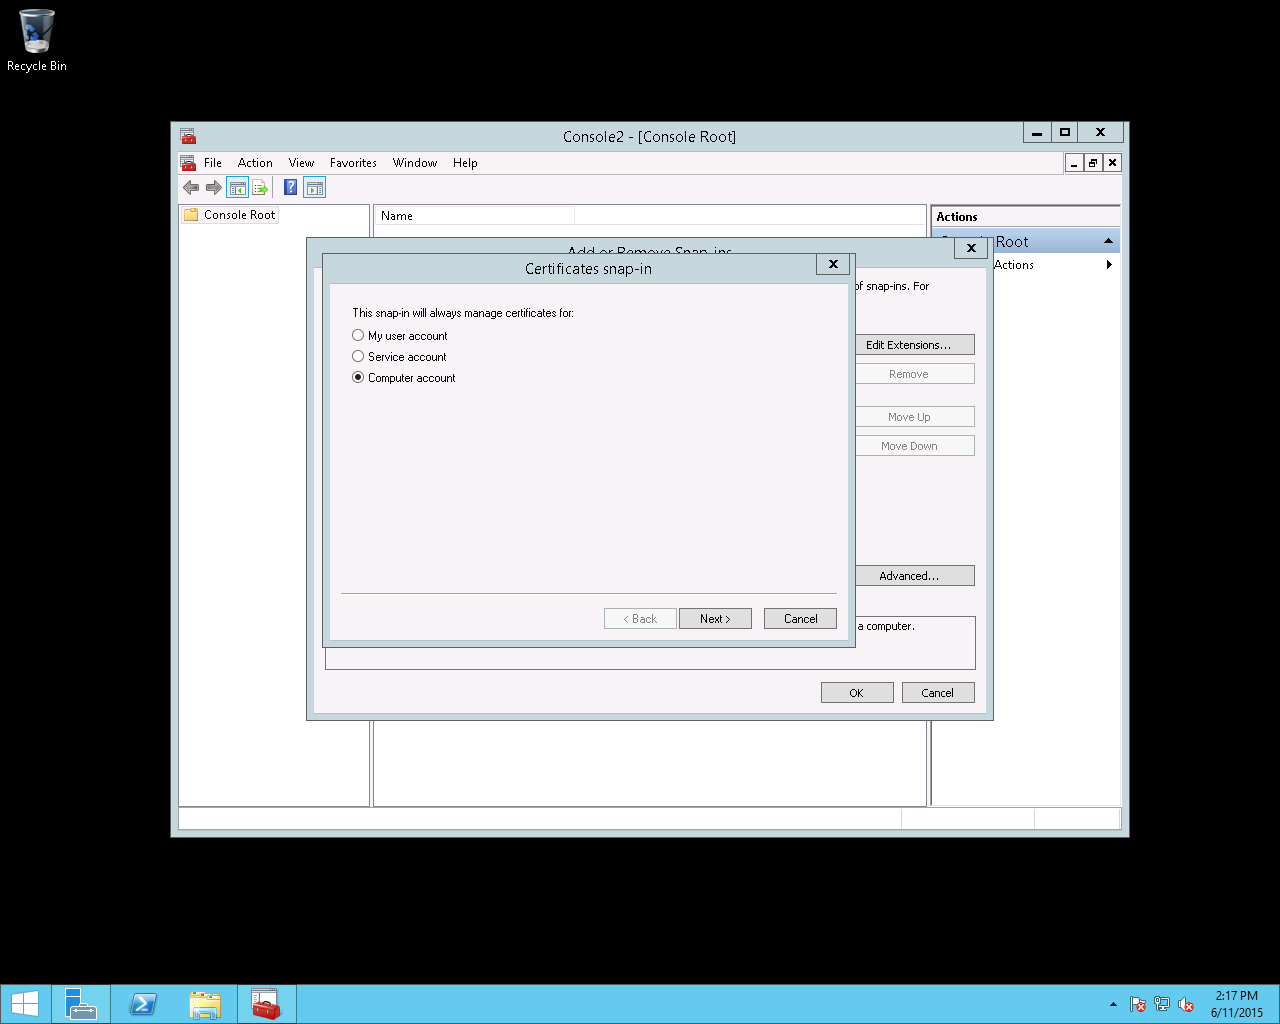
l When
the wizard starts, choose “Computer Account”, “Local Computer” and finish out
the wizard.
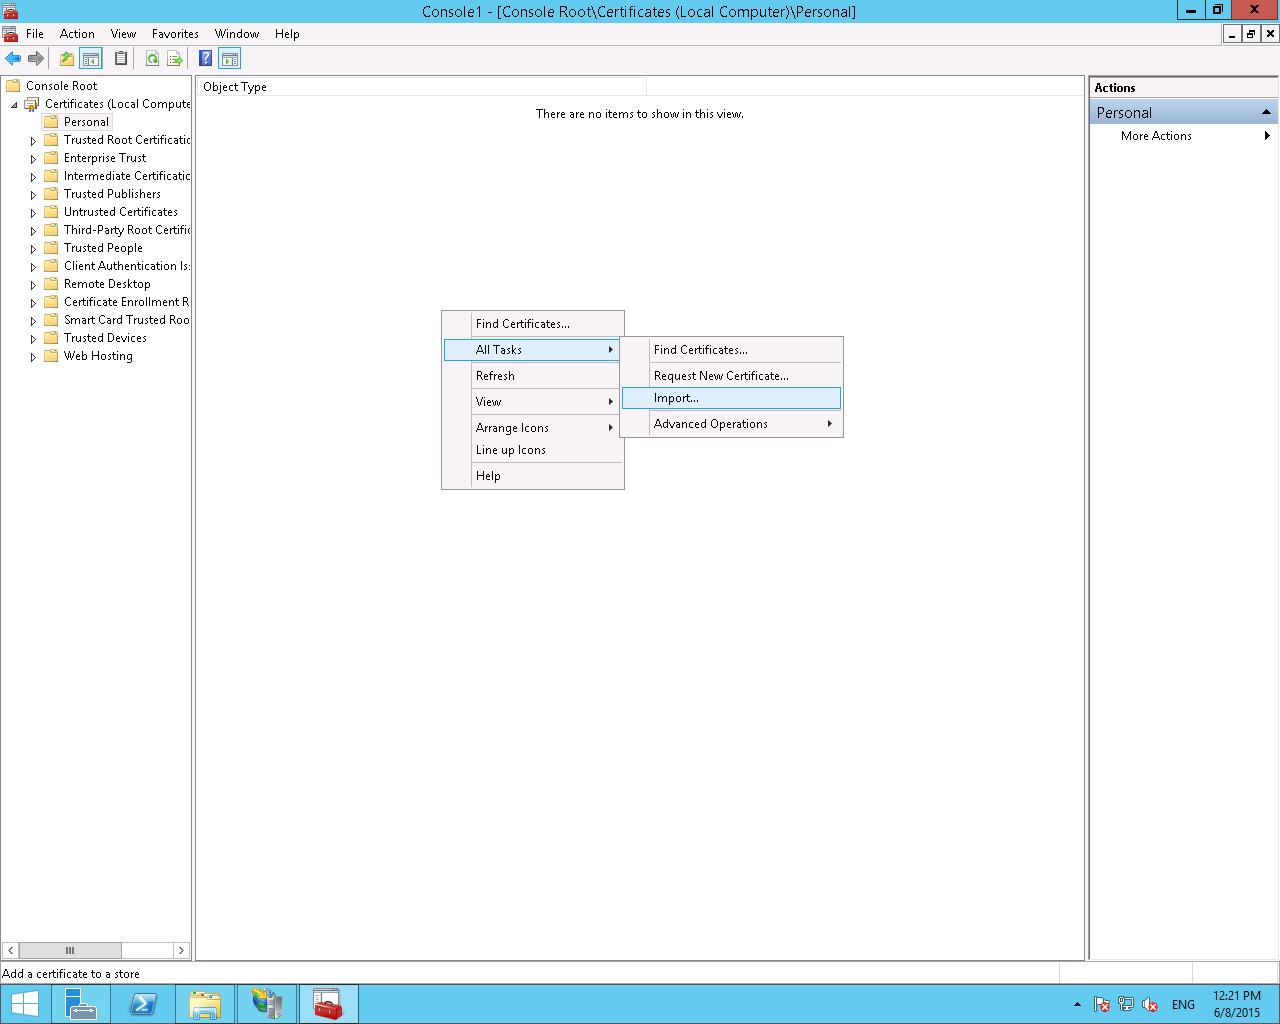
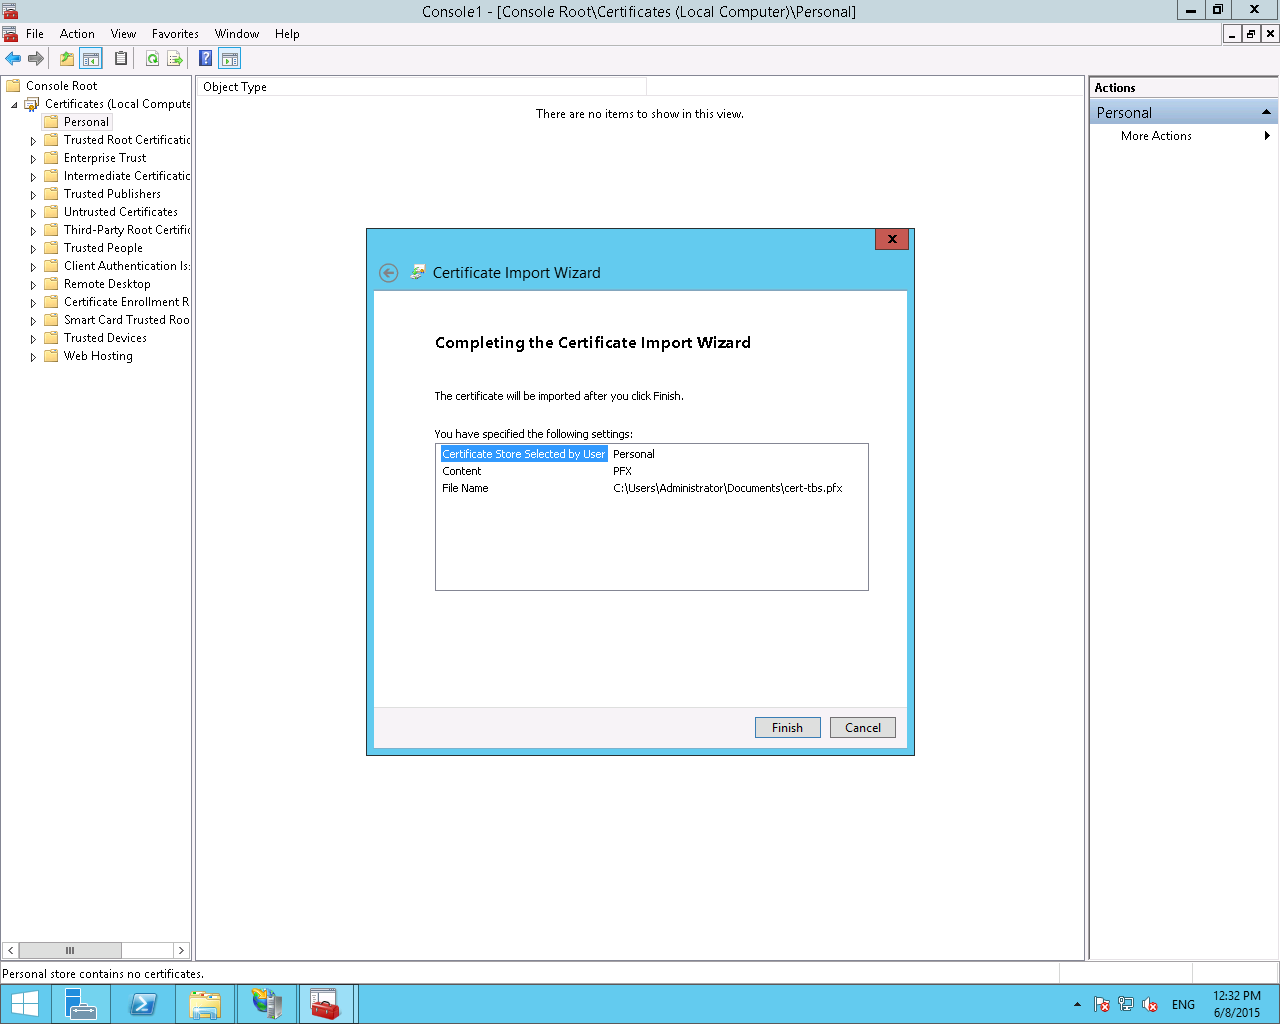
l Once
you’re finished, go back to the MMC and expand the “Certificates” node, then
the “Personal” node.
l Click
on the “Certificates” node under “Personal” and find your certificate in the
right pane.
l Right
click on the certificate and choose “All Tasks”, then “Export”.
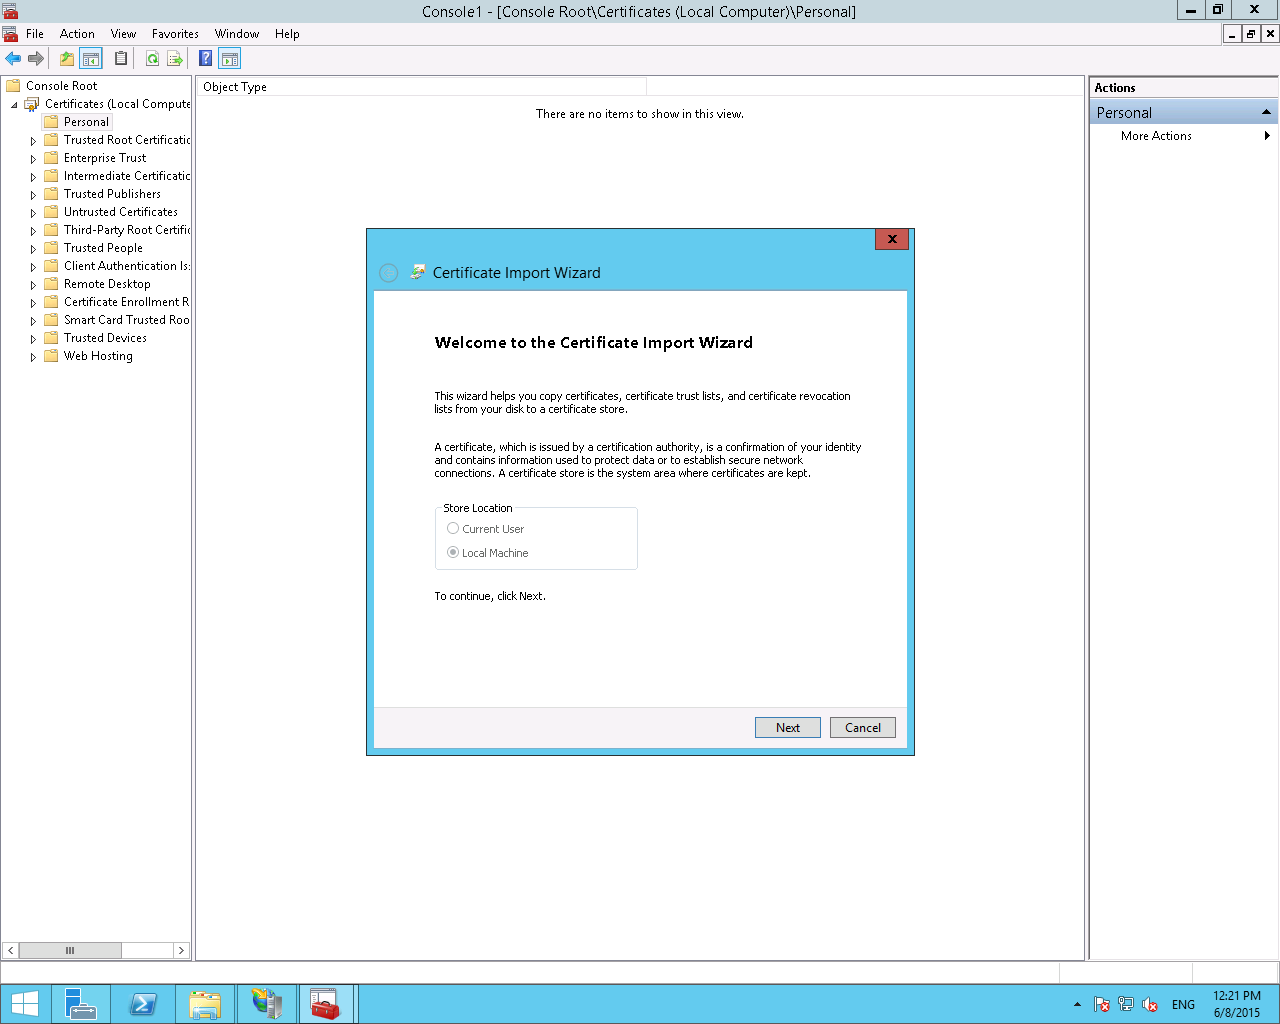
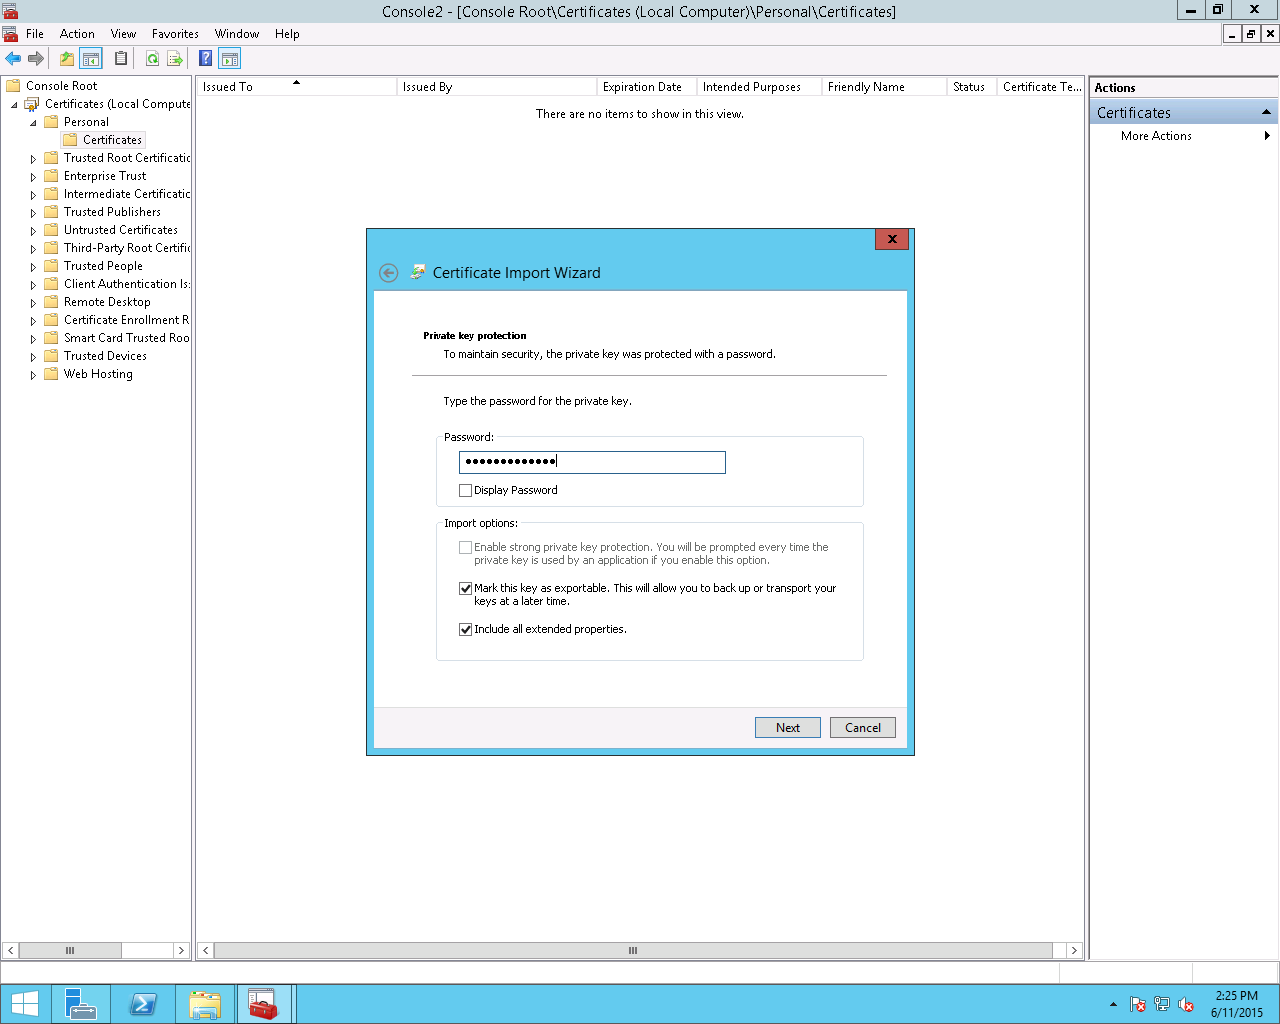
l When
the wizard starts, choose “Yes” for exporting the private key, you will also
need to set a password and specify a file name and location for the PFX file,
e.g. “ssl.pfx” and in c:\temp
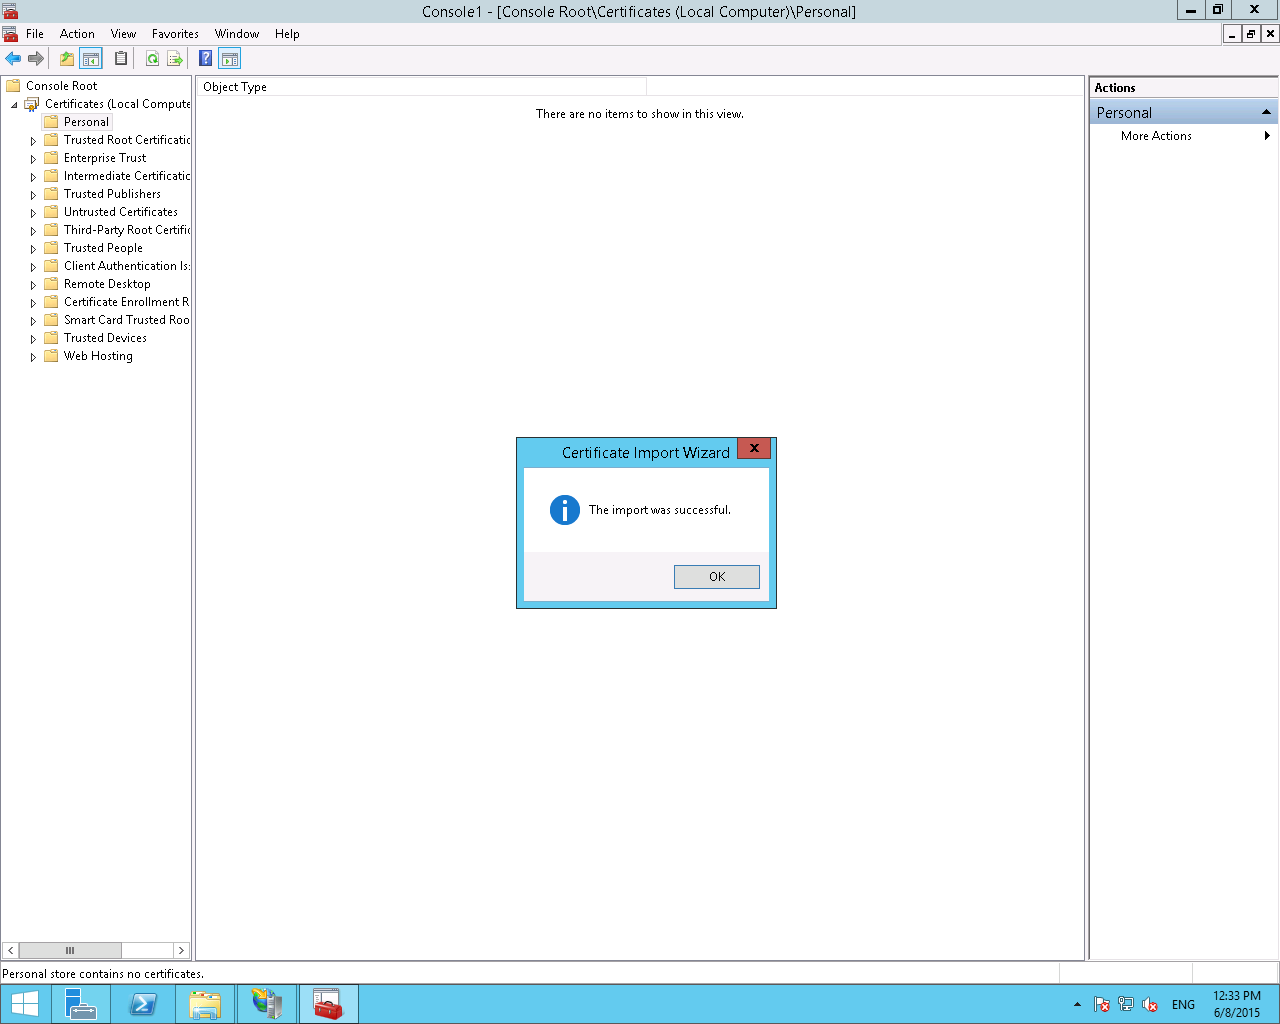
l
Once the PFX file has been saved, close out
the MMC (don’t save the snap-in if it asks).
L.
Enable SSL in CentOS
l Copy the PFX to a directory (e.g. /ssl) under root directory of the Linux
server, e.g. use ftp
l In Linux server, change to the directory ssl cd /ssl
l In /ssl directory, run openssl pkcs12 -in ssl.pfx -out ssl.pem
l Copy the ssl.pem to 2 files cp ./ssl.pem ./ssl.crt and cp
./ssl.pem ./ssl.key
l In ssl.crt file, clear the content out of following
-----BEGIN
CERTIFICATE----- and -----END CERTIFICATE-----
l In ssl.key file, clear the content out of following
-----BEGIN
RSA PRIVATE KEY----- and -----END RSA PRIVATE KEY-----
l cp
./ssl.crt /etc/pki/tls/certs/ssl.crt
l cp
./ssl.key /etc/pki/tls/private/ssl.key
l vi /etc/httpd/conf.d/ssl.conf
l edit the two
line in ssl.conf like this
SSLCertificateFile
/etc/pki/tls/certs/ssl.crt
SSLCertificateKeyFile
/etc/pki/tls/private/ssl.key
l systemctl restart httpd