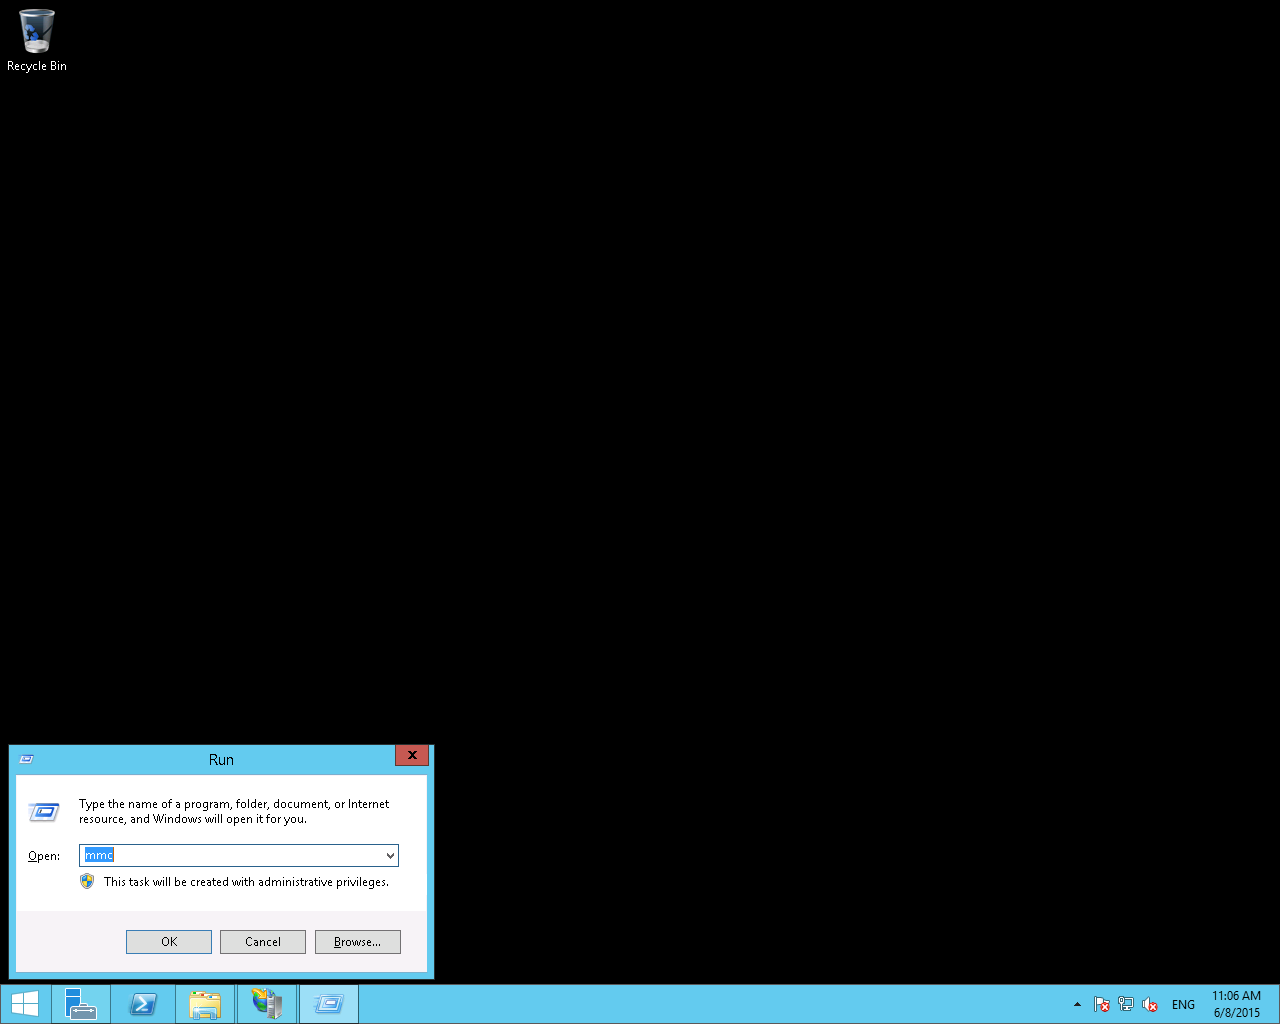
- Open the Windows launch tool with Run from the Run menu or with the keyboard shortcut Win+r. Then enter mmc and click OK.
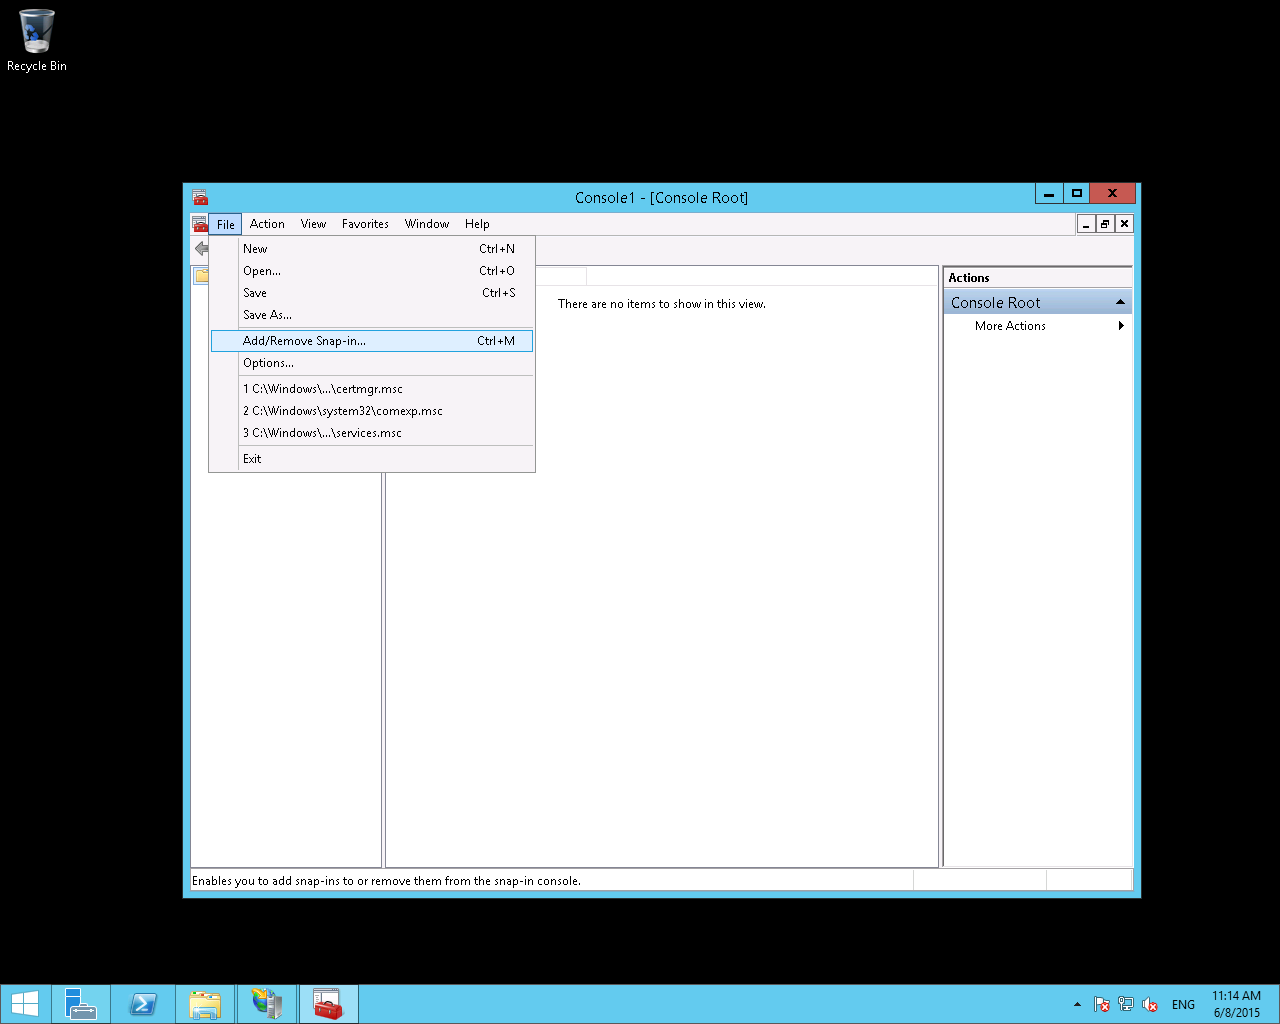
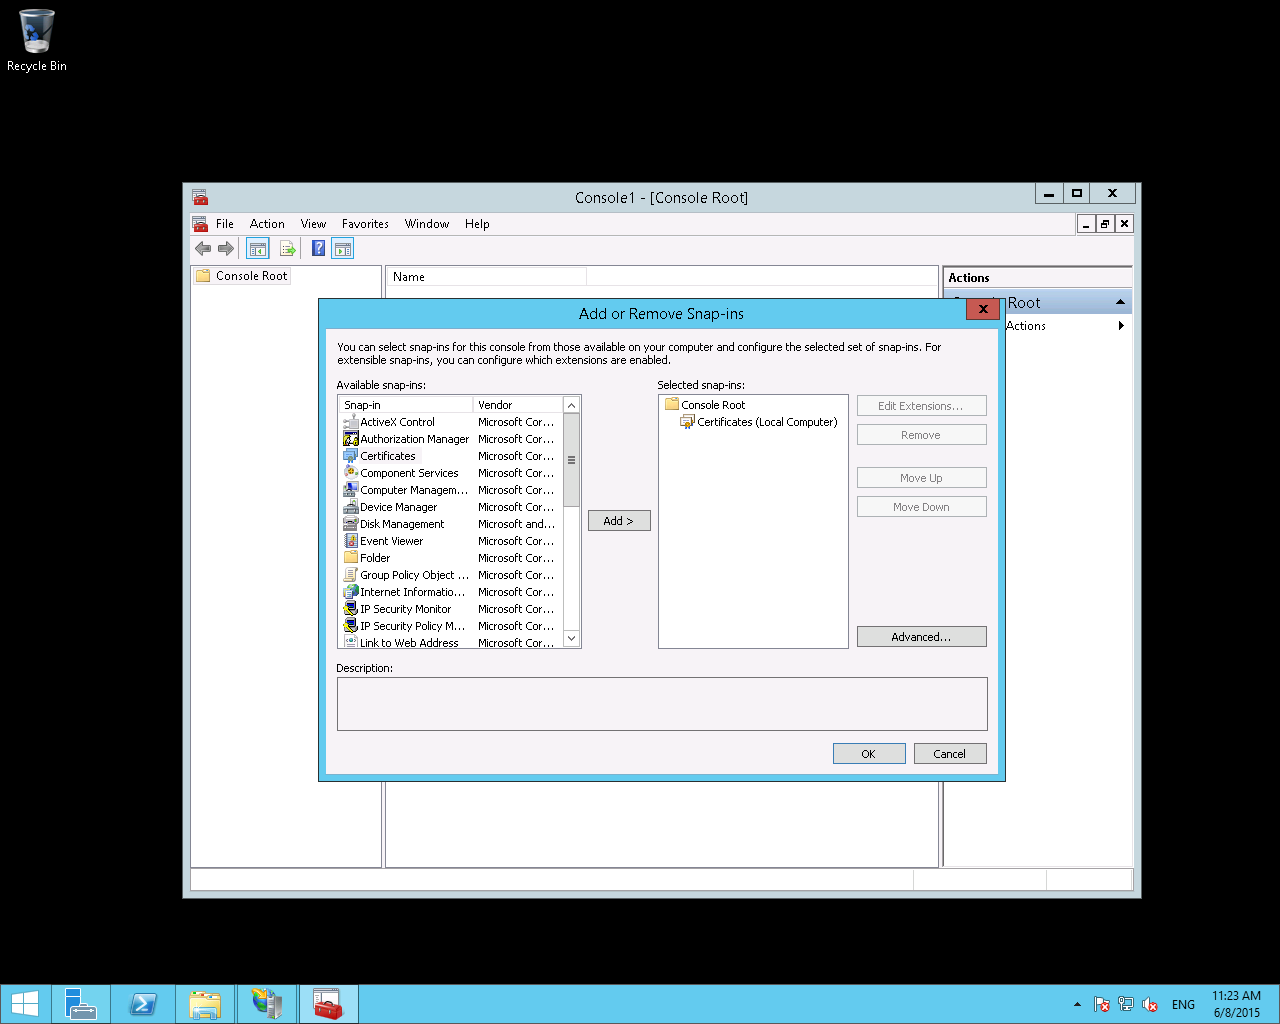
- Click on the File menu and then on Add/Remove
Snap-in.
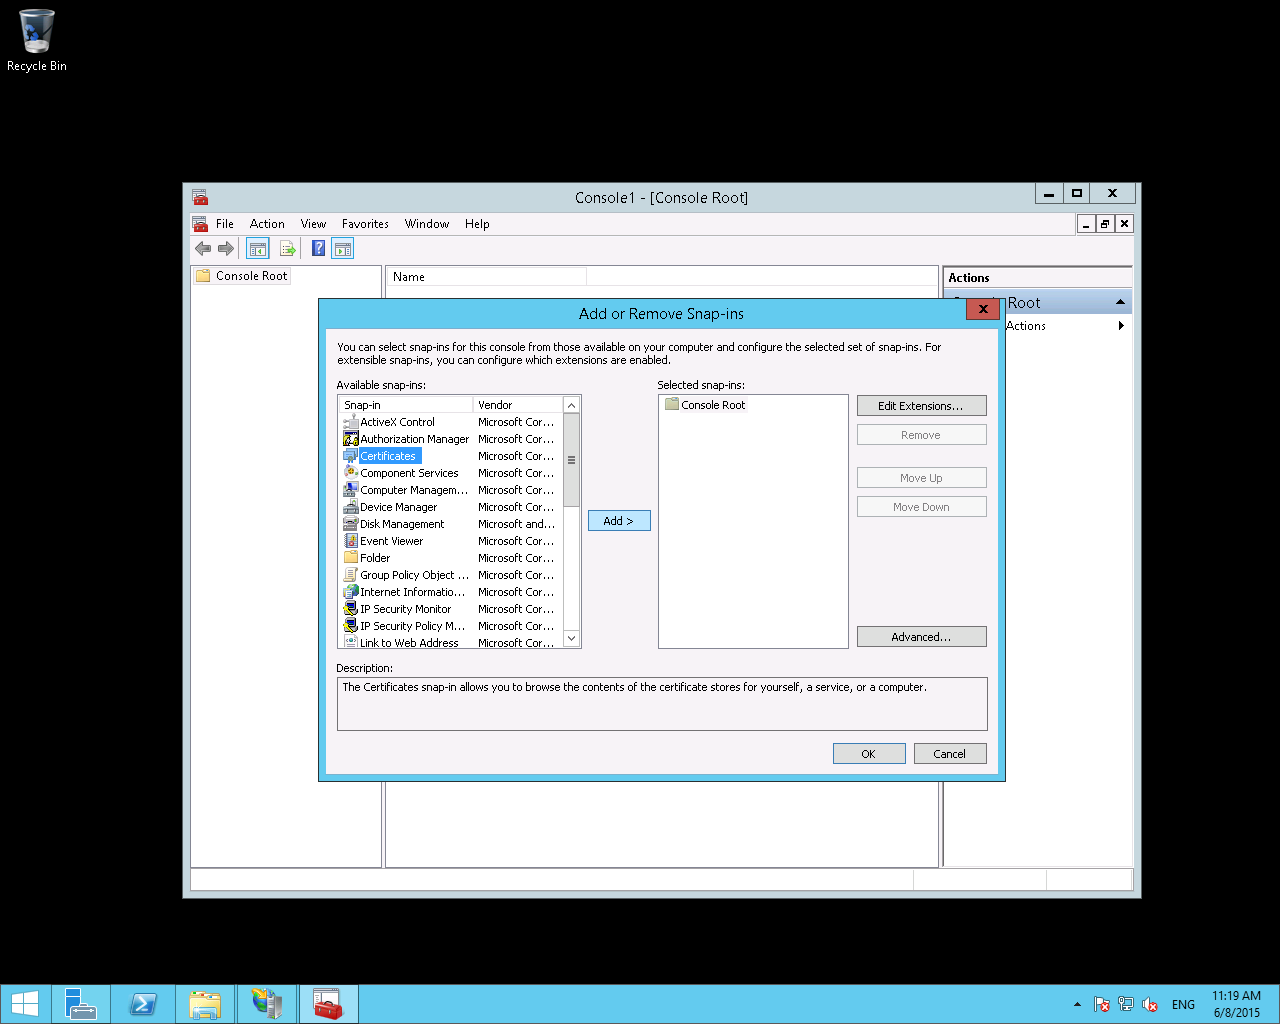
- Click on Certificates then on Add.
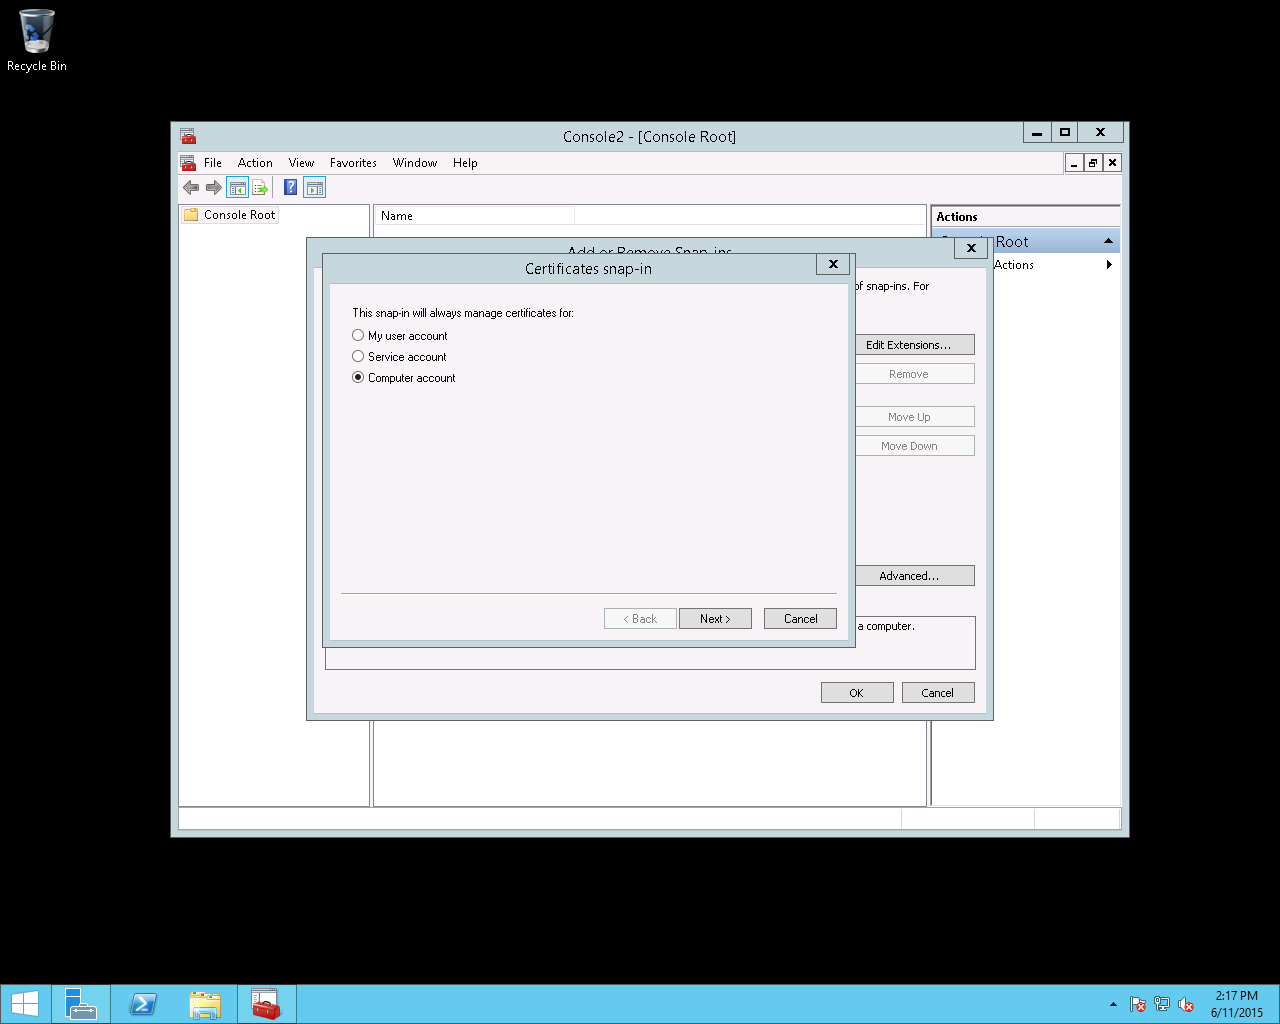
- Select your kind of current account (Windows) the complete the information requested.
- Then validate by clicking OK.
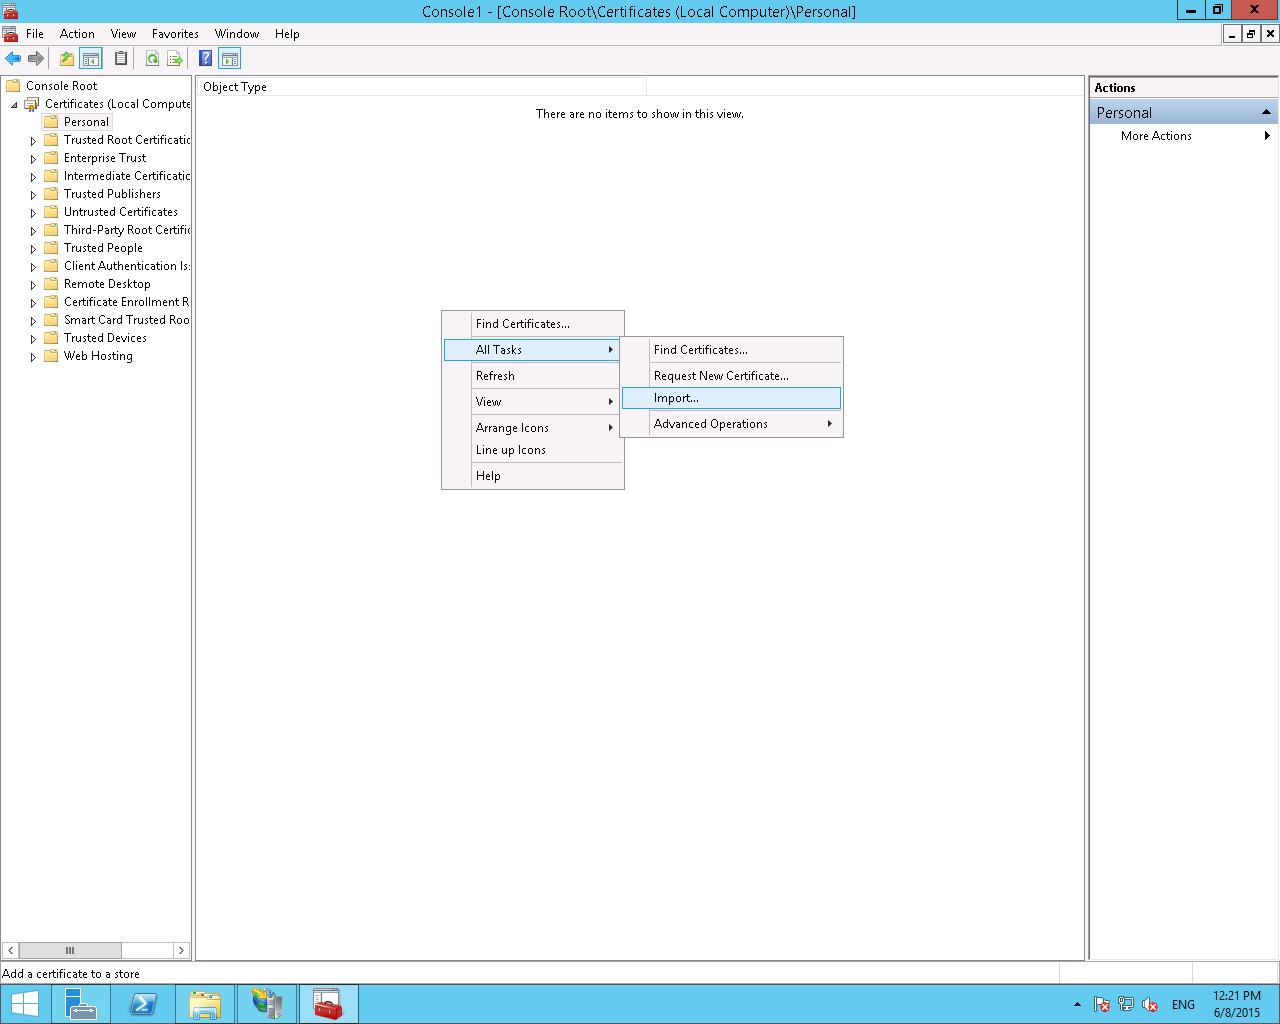
- You can now open the Certificates menu to find the store that will contain your certificate. Select its sub-file Certificates. Then right click in the center part of the window and select the All tasks - Import option.
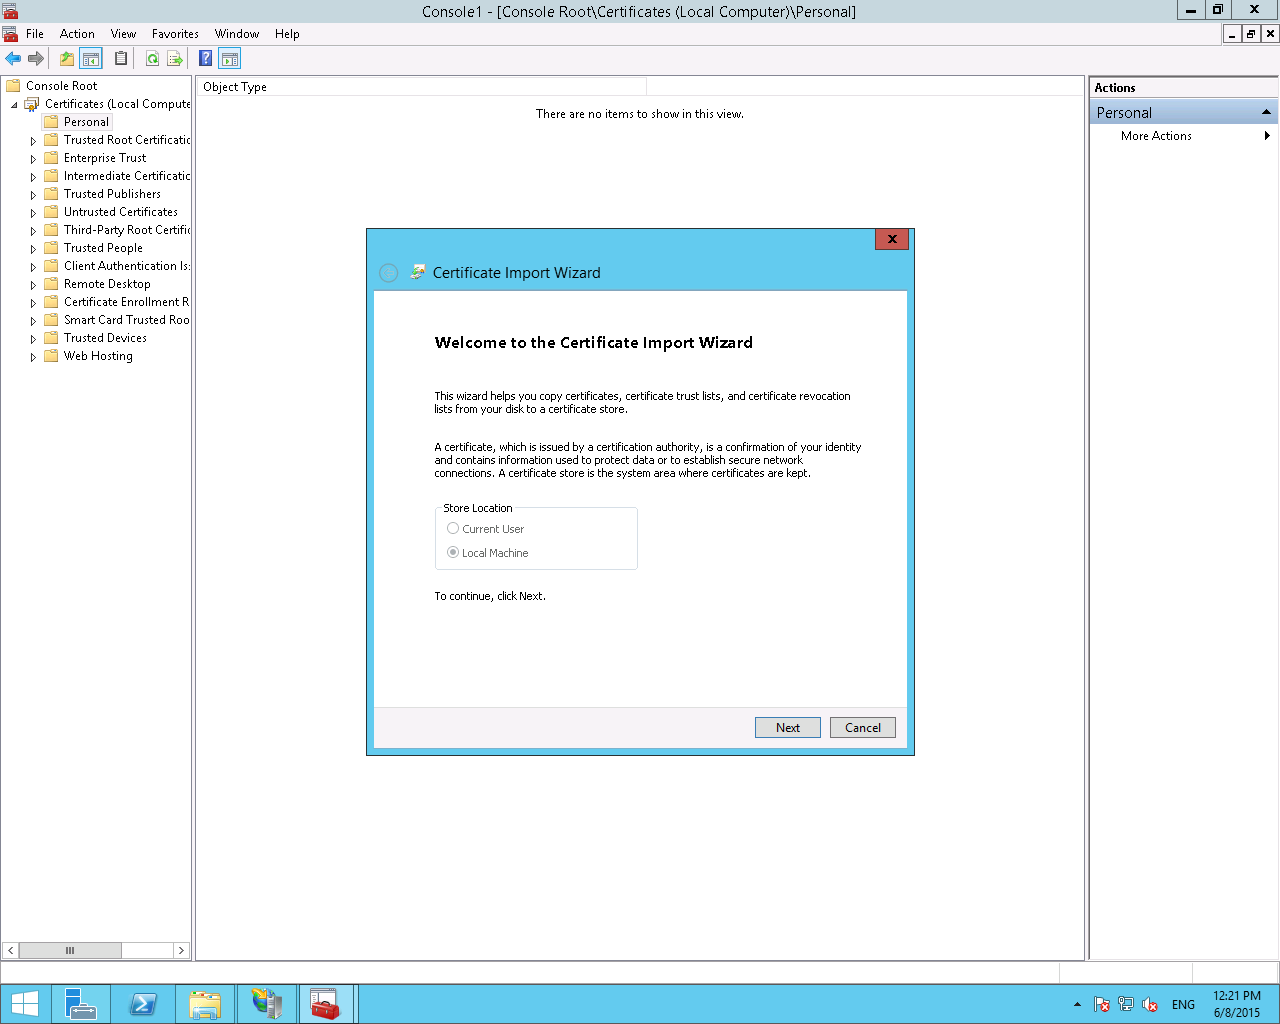
- Click on Next.
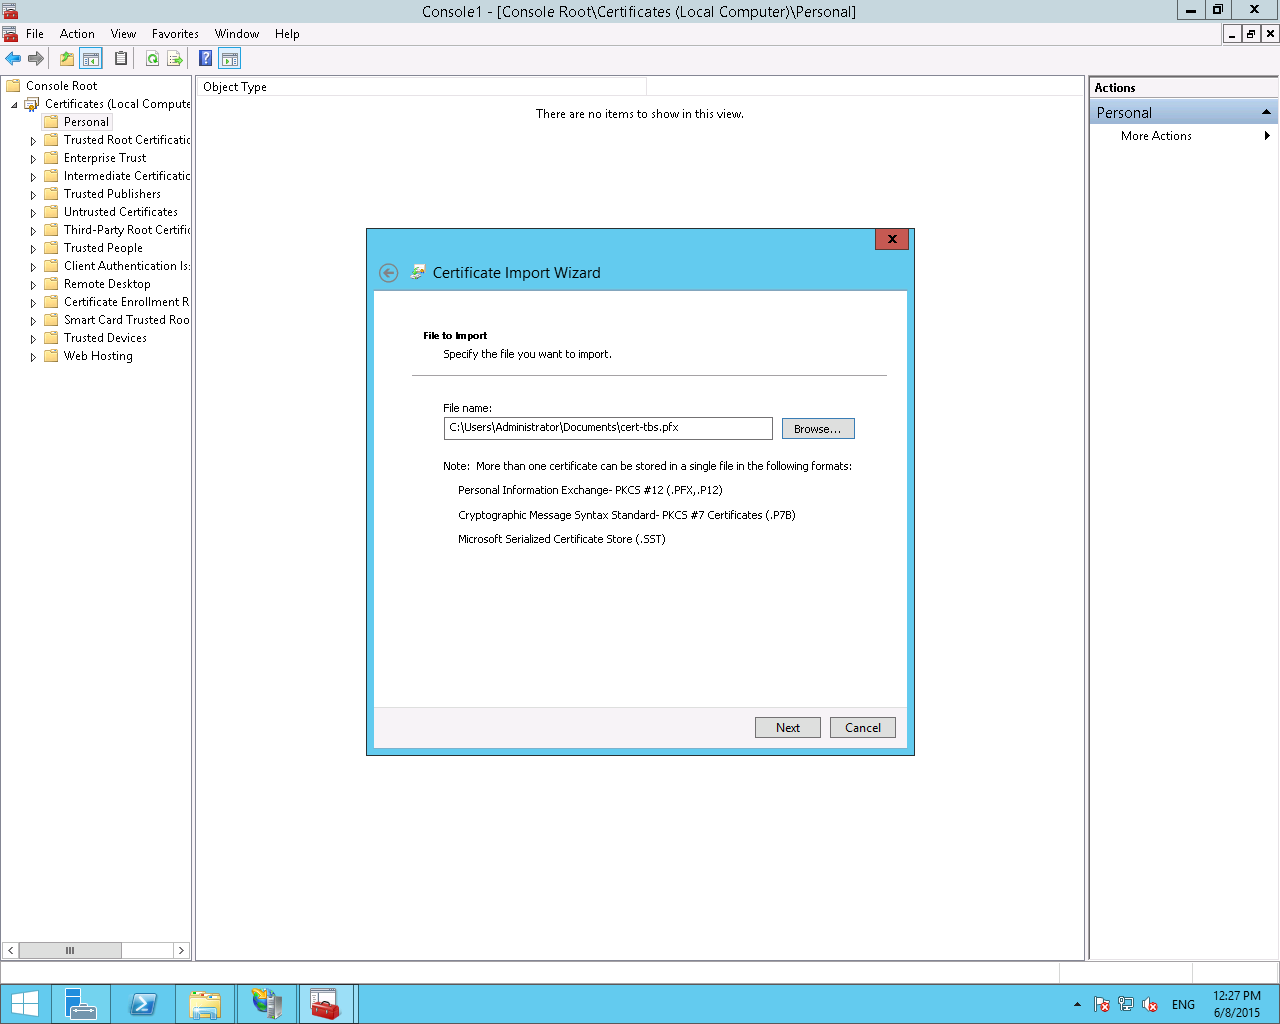
- Select your pfx file. Please note that the dialog box tries to find another kind of file by default. Then click on Next.
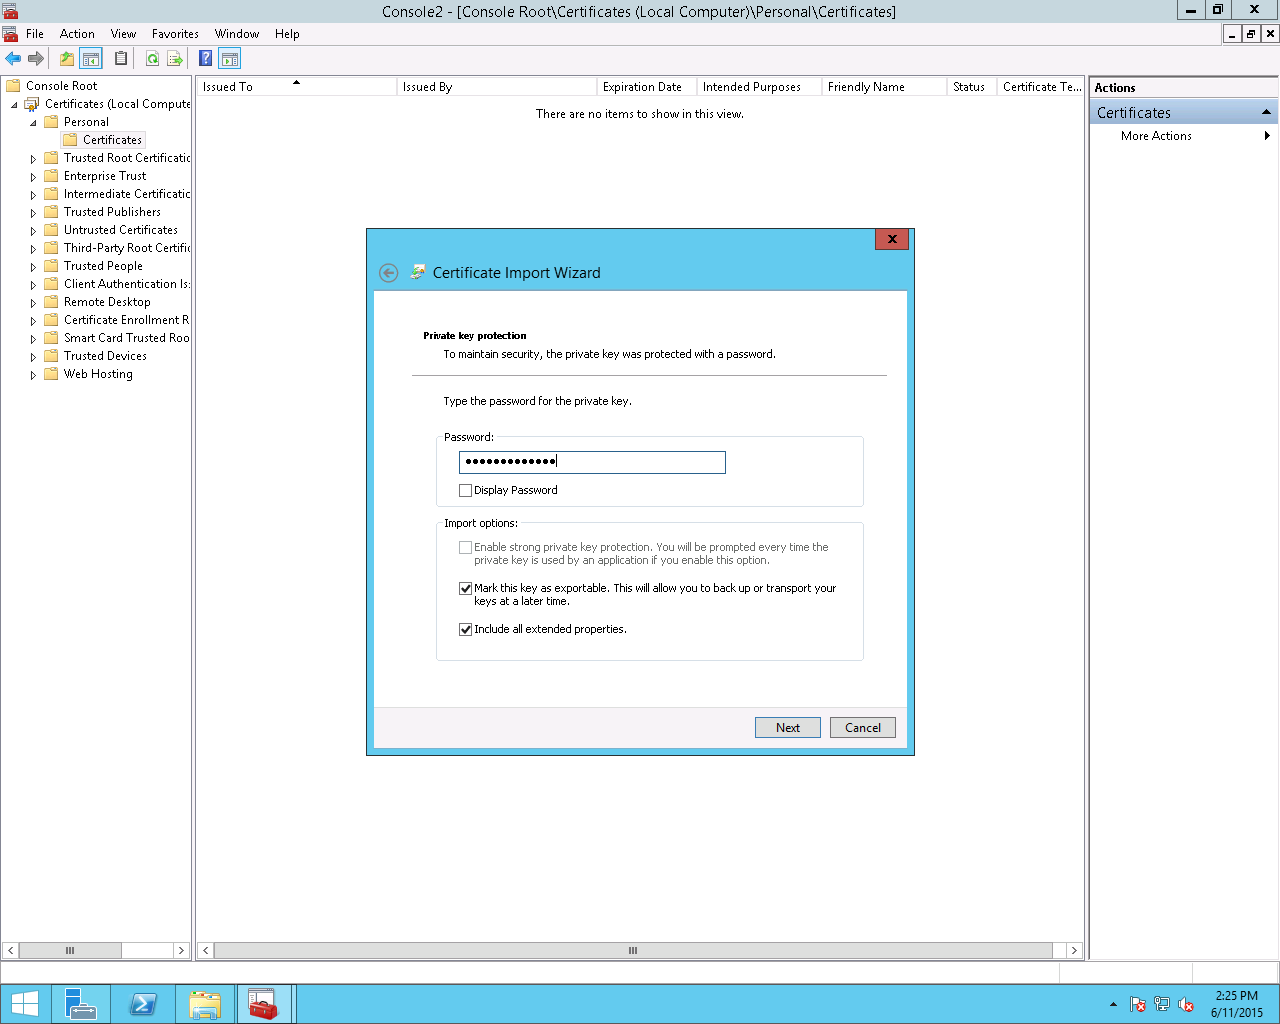
- Enter the password protecting the certificate. Make sure the box Mark this key as exportable is checked. If not, you won't be able to export your key.
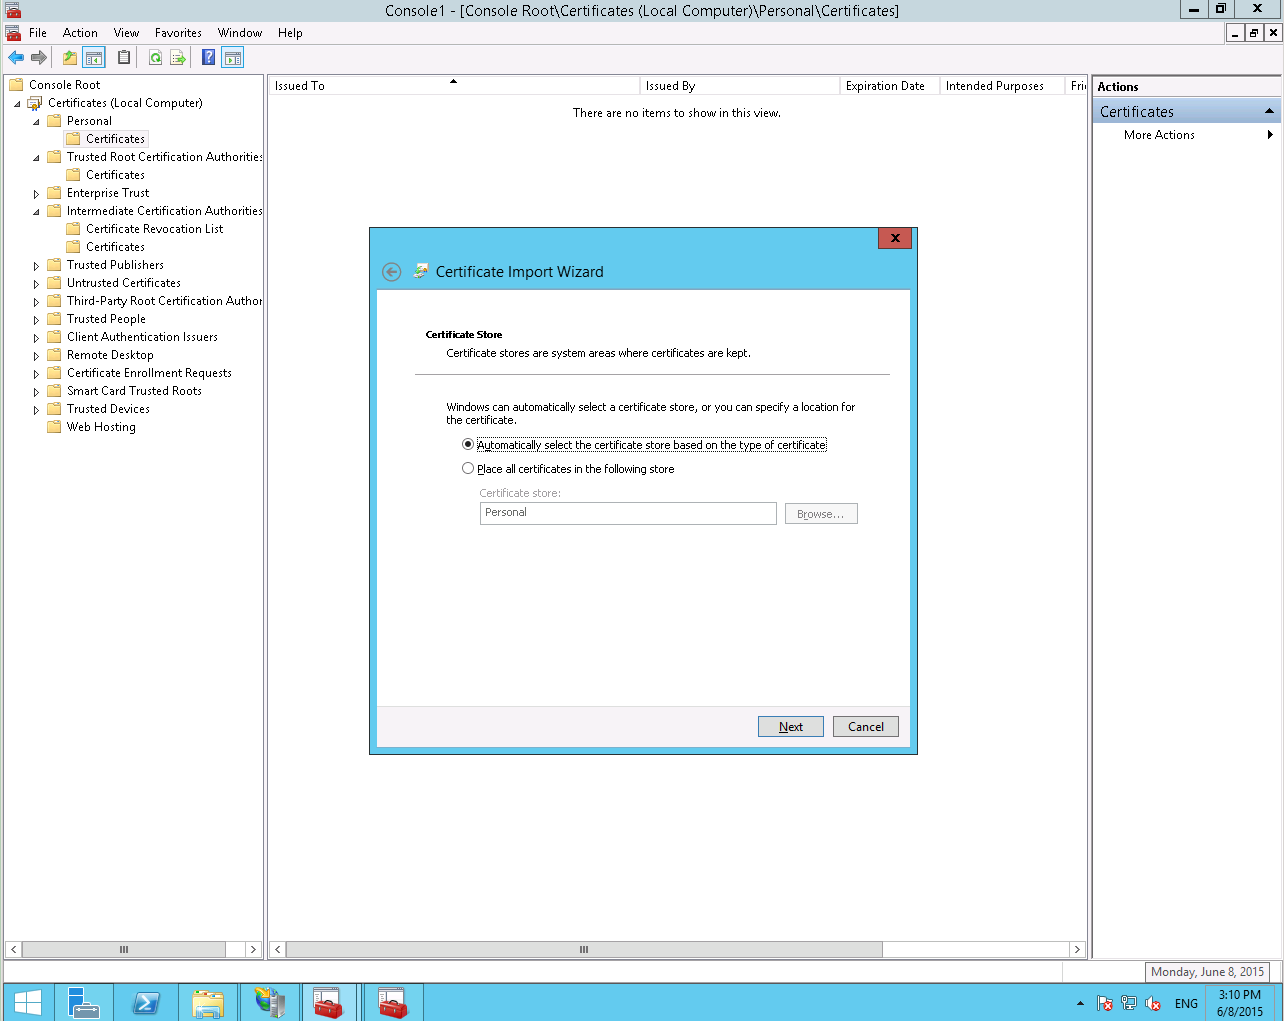
- Select the store that will contain the certificate. It is very strongly recommended to select the Automatically select the certificate store based on the type of certificate option in order to distribute each element of the certification chain in the adequat stores.
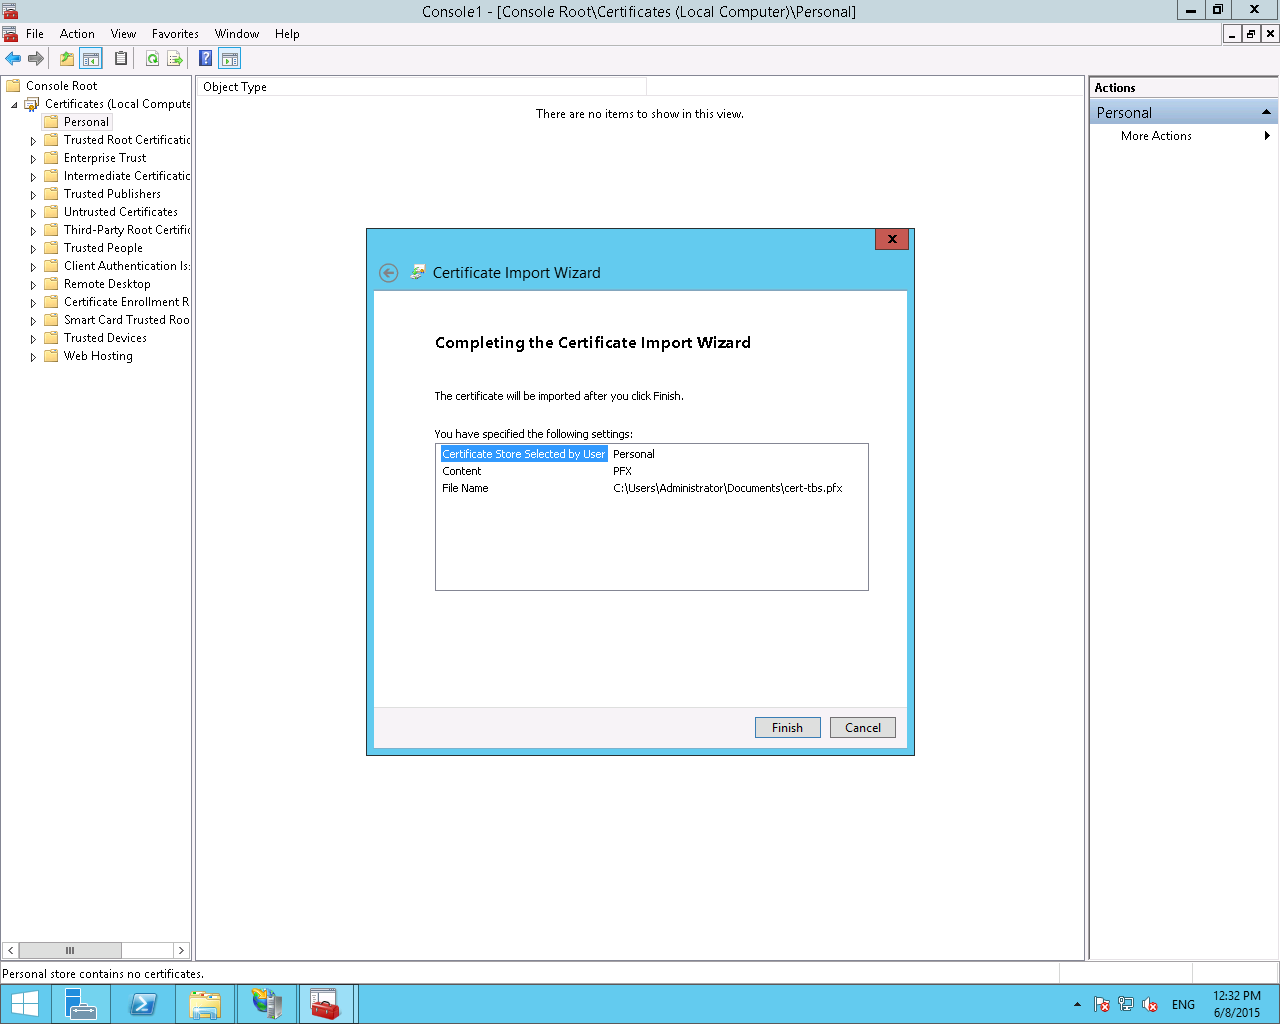
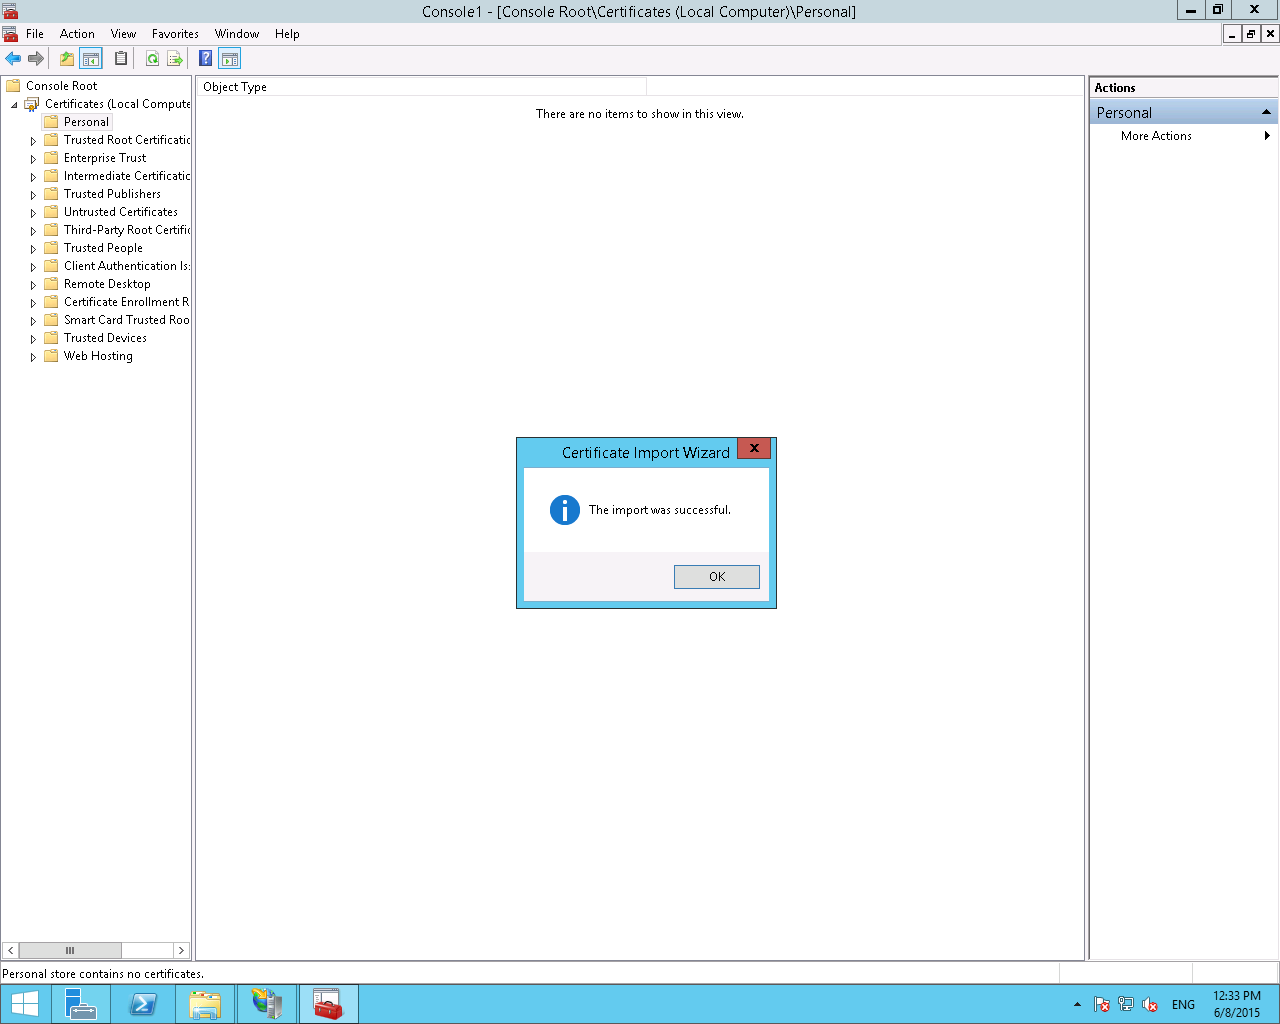
- Confirm the certificate import by clicking on Finish.
- In Internet Information Services (IIS) Manager, select your site.

- Select Bindings option from the Actions menu on the right hand side of the window.
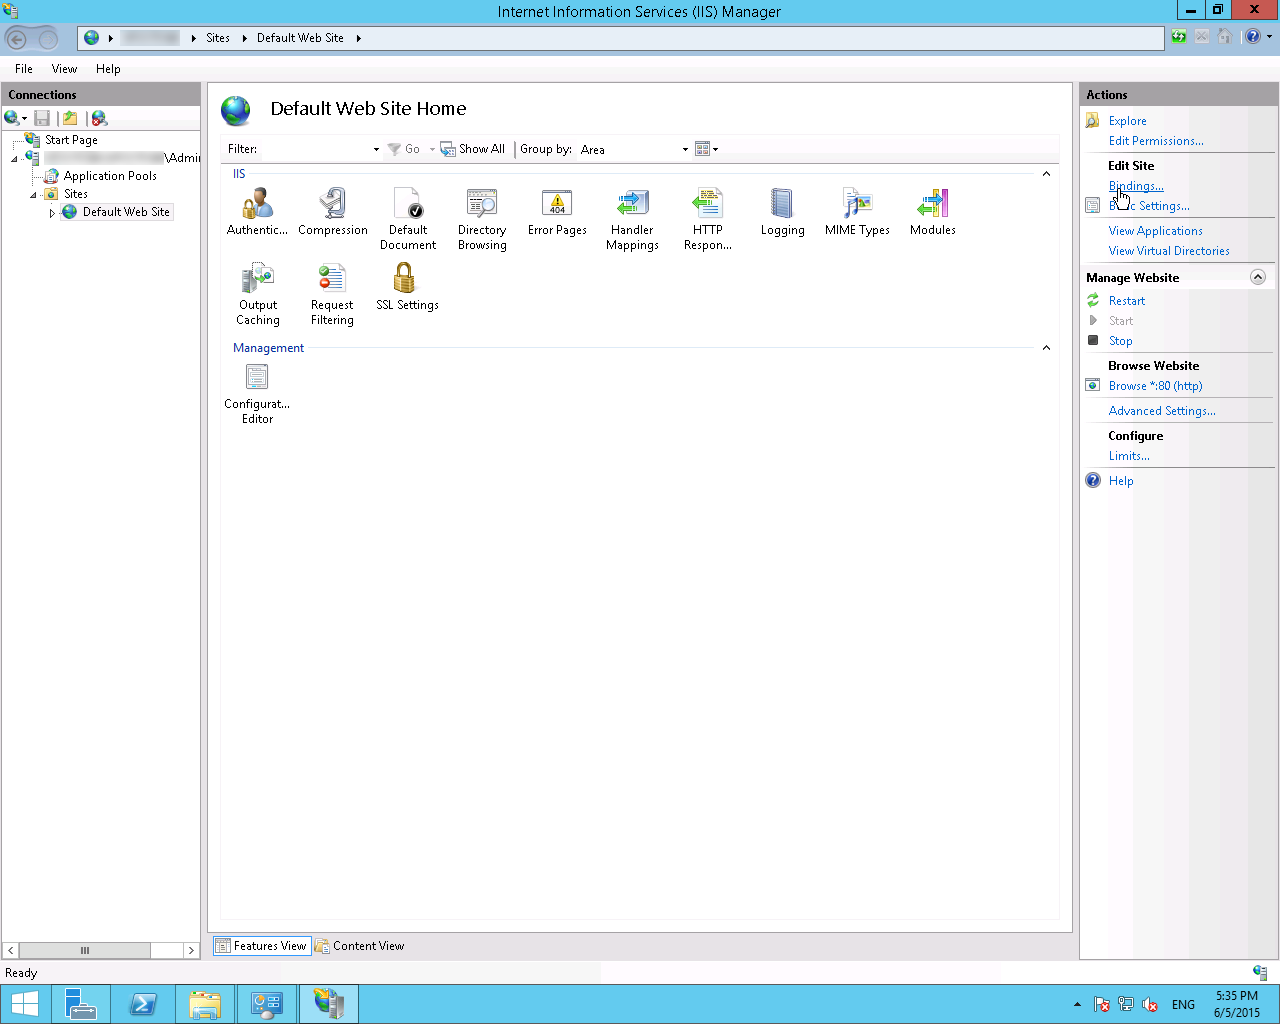
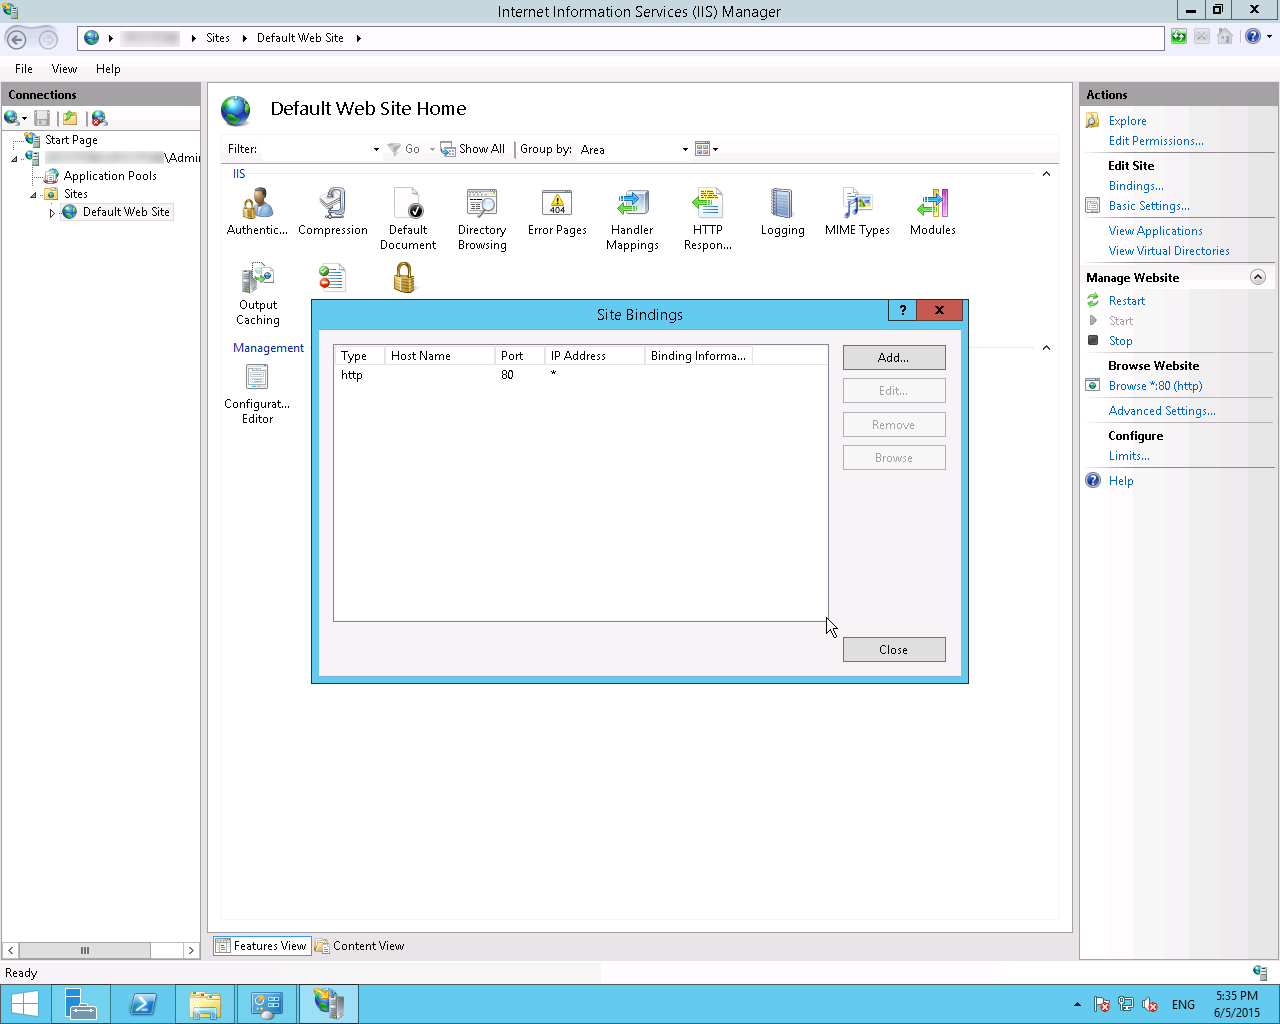
- Then select Add
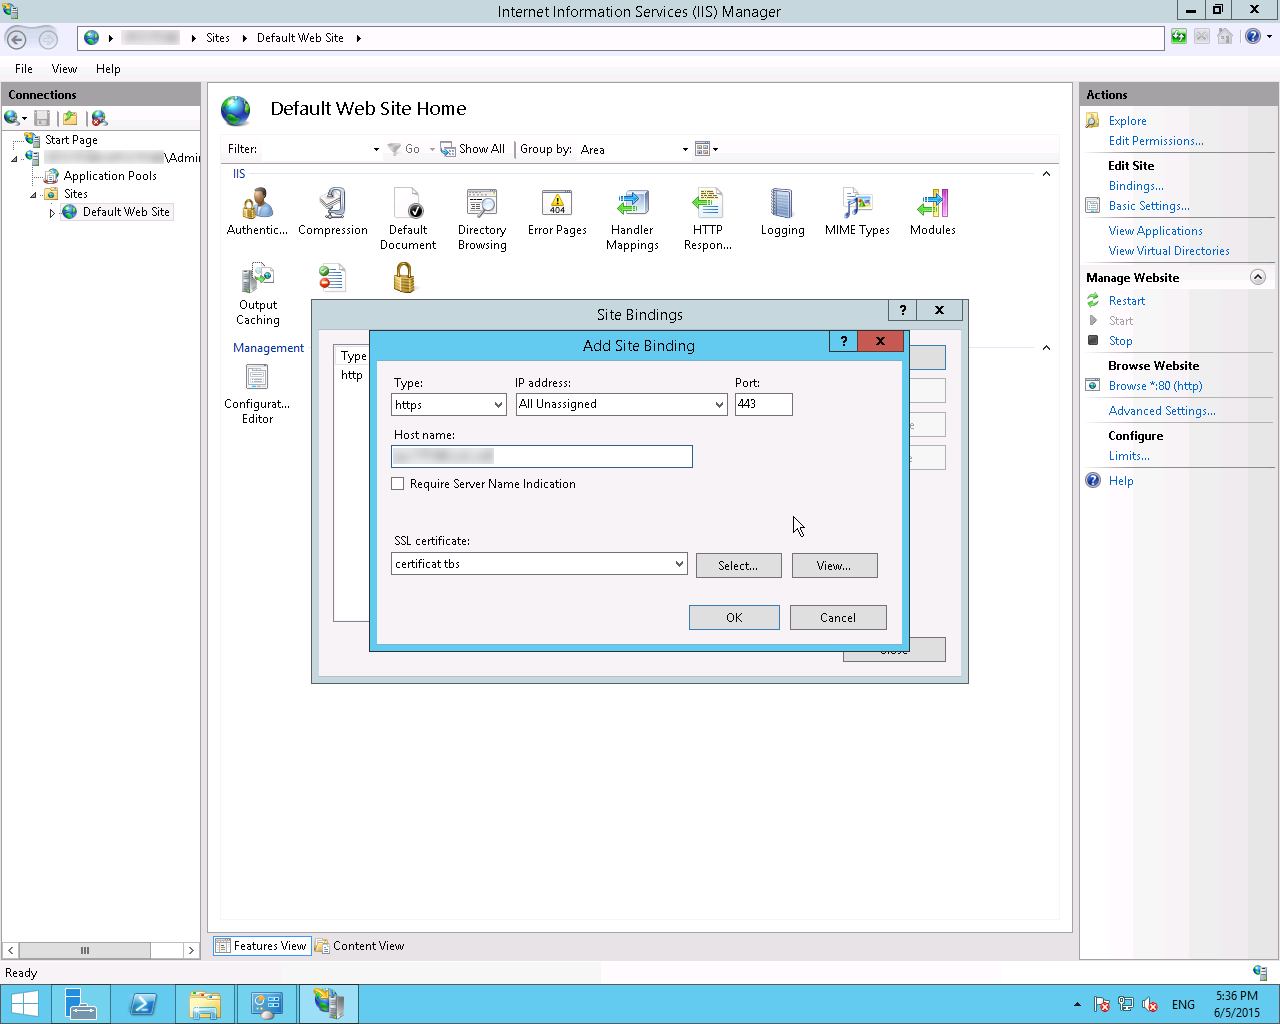
- Then select the HTTPS protocol and the certificate you previously added.
Part III - HTTP to HTTPS redirects
- Install the URL Rewrite module. (Download from here: http://www.iis.net/downloads/microsoft/url-rewrite)
- Add the below section in the web.config at the root of the site

